Use the Schedule Report page to generate an Email Hourly Stat report on a schedule and send email notifications automatically.
Note
Before you can schedule an Email Hourly Stat report to be generated and sent through email, ensure that the SMTP server or domain is configured. You must also specify the email address of the report recipient. For details about configuring these report settings, refer to the Email Security — Server System Administration Guide.
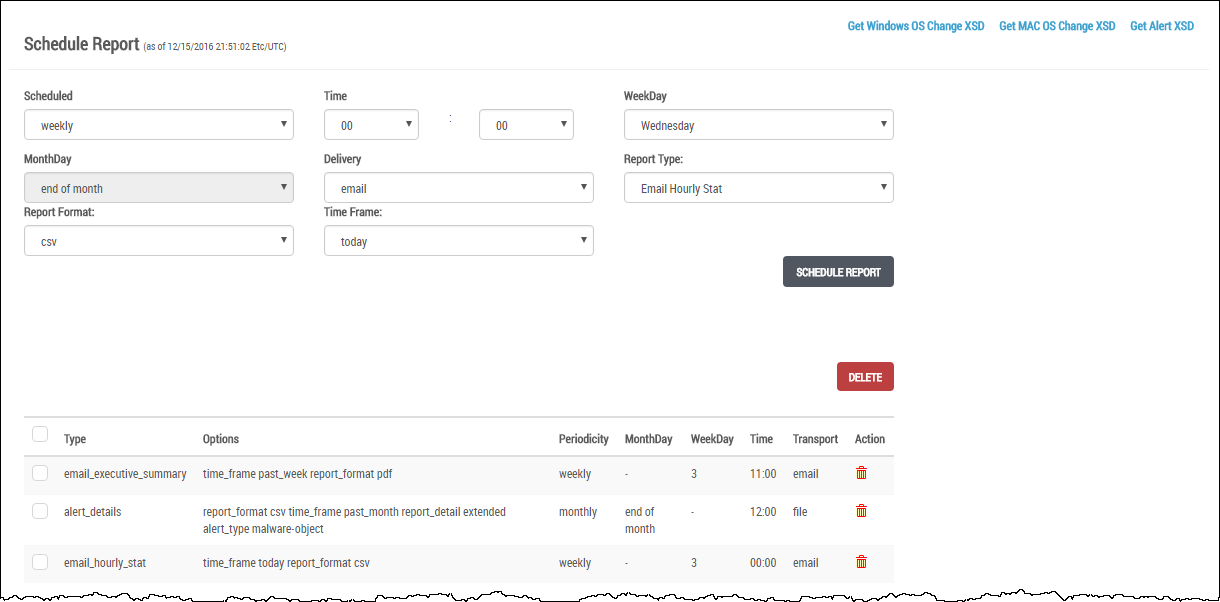
In the Web UI, choose Reports > Schedule.
In the Scheduled drop-down menu, set the time frequency:
hourly
daily
weekly
monthly
In the Time drop-down menu, set the time of day in hours and minutes (00:00).
If you selected a weekly report, specify the report day of the week in the WeekDay field.
If you selected a monthly report, specify the report day of the month in the MonthDay field.
In the Delivery drop-down menu, specify the delivery method. The default delivery is email.
email—Deliver the report as a file attached to email.
file—Deliver the report as a file linked from the Web UI.
In the Report Type drop-down menu, select Email Hourly Stat Report.
In the Report Format drop-down menu, select the csv output format to write the report to a CSV file.
In the Time Frame drop-down menu, select the time period for this report generation:
today—Report covers analysis generated from 12:00 A.M. until the current time.
1 day ago—Report covers analysis generated during the past 24 hours.
2 days ago—Report covers analysis generated during the past 2 days.
3 days ago—Report covers analysis generated during the past 3 days.
4 days ago—Report covers analysis generated during the past 4 days.
5 days ago—Report covers analysis generated during the past 5 days.
6 days ago—Report covers analysis generated during the past 6 days.
7 days ago—Report covers analysis generated during the past 7 days.
Click Schedule Report. The scheduled report is added to the top of the scheduling list.
(Optional) Export the XSD files. These files describe the structure of the Email Hourly Stat report.
To export the Windows OS Change XSD, click the Get Windows OS Change XSD link at the top right side of the page.
To export the MAC OS Change XSD, click the Get MAC OS Change XSD link at the top right side of the page.
To export the Alert XSD, click the Get Alert XSD link at the top right side of the page.
In the Web UI, choose Reports > Schedule.
Locate a scheduled Email Hourly Stat report you want to delete.
Click the Delete (red trash can) icon.
Click OK.
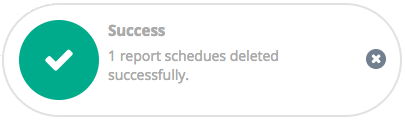
An Email Hourly Stat report is removed from the schedule. The following message appears:
Close the message.