Follow these steps to view and export the results of emails that have been processed by the Email Security - Server appliance.
To manage each processed email:
Note
The download option is available if the clean email is still present and readable.
An error is displayed, if the email is missing or the system times out while fetching the email.
Click on the Action button in the last column.
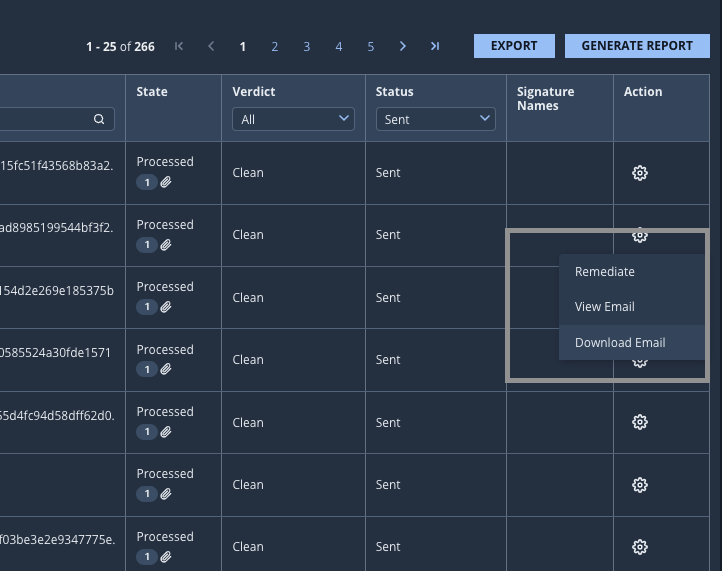
Select Remediate to remediate the email.
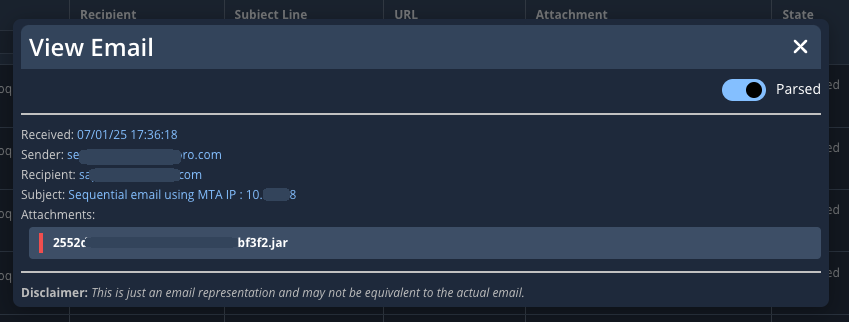
Select View Email to view the email.
Note
The view option is only available for appliances with clean email retention enabled.
You can use the toggle button to view the Parsed and Raw versions. If no parsed body is found, the parsed view is skipped entirely.
You can view key email metadata (sender, recipient, subject, etc.) and list of attachments (if available). If no attachments are present, a "No attachments" message appears inline.
The View window also displays embedded and styled malicious URLs (if found in the body).
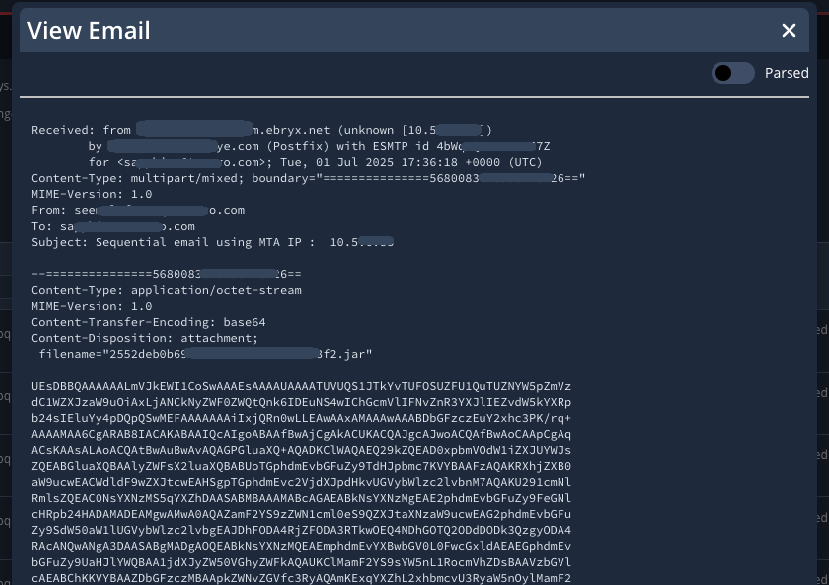
Select Download Email to download the email contents.
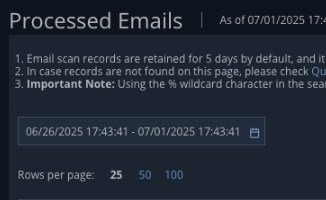
In the Web UI, choose Search Emails > Processed Emails.
In the Date Range field, select the time frame you want to view by using the calendar icon (
.png) ).
).
Enter the specific search criteria that you want to filter in the search string box. To perform a wildcard search on one or more characters, you can use the percentage sign (
%).Press Enter.
If you need to clear the filter, click the X icon (
.png) ).
).If you need to hide the search string box, click the search icon (
.png) ).
).Use the Verdict and the Status drop-down lists to filter the unprocessed email messages.
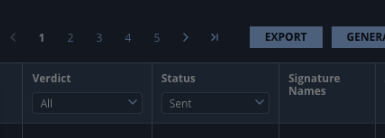
Click Search.
If the specified time frame is greater than two days, the following message appears:
.png)
Click Proceed.
To change the sort order of the date and time email was processed, click the sort icon (
 ) in the Date/Time column.
Click Export to export a list of processed emails.
If the results of processed emails have not yet been filtered, the following message appears:

Verify that the
.csvfile was downloaded to your local desktop.