Sometimes you might not be able to, or want to, wait for a certification authority to authenticate a certificate. During initial testing or for systems used on internal networks, a self-signed certificate can provide the basic security and functionality needed.
To create a self-signed certificate, install the OpenSSL for Windows software. OpenSSL is available from:
http://www.slproweb.com/products/Win32OpenSSL.html
To create and self-sign a certificate to use with your ePO - On-prem server, use OpenSSL for Windows software. There are many tools you can use to create a self-sign a certificate. This task describes the process using OpenSSL.
Note
To have a third party, for example Verisign or Microsoft Windows Enterprise Certificate Authority, create a signed certificate for ePO - On-prem, see How to generate a custom SSL certificate for use with ePO using the OpenSSL toolkit, KB72477.
The file structure used in the following task is:
Note
OpenSSL does not create these folders by default. They are used in these examples and can be created to help you find your output files.
C:\ssl\— Installation folder for OpenSSL.C:\ssl\certs\— Used to store the certificates created.C:\ssl\keys\— Used to store the keys created.C:\ssl\requests\— Used to store the certification requests created.
Note
We recommend that you use certificates with RSA public key lengths of 2048 bits or greater.
For details about product features, usage, and best practices, click ? or Help.
To generate the initial certificate key, type the following command at the command line:
C:\ssl\bin>openssl genrsa -des3 -out C:/ssl/keys/ca.key 2048The following screen appears.
Loading 'screen' into random state - done Generating RSA private key, 2048 bit long modulus ........................++++++ .++++++ unable to write 'random state' e is 65537 (ox10001) Enter pass phrase for keys/ca.key: Verifying - Enter pass phrase for keys/ca.key: C:\ss\bin>Enter a passphrase at the initial command prompt and verify the pass phase at the second command prompt.
Note
Make a note of the passphrase you enter. You need it later in the process.
The file name
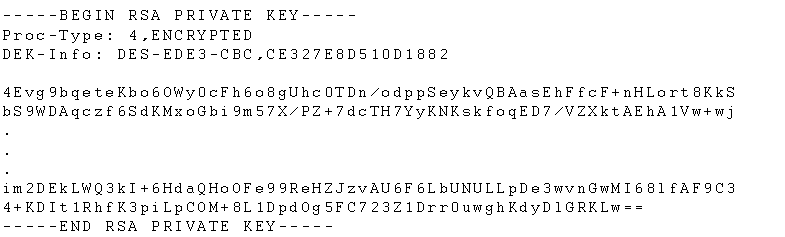
ca.keyis generated and stored in the pathC:\ssl\keys\.The key looks similar to the following example.
To self-sign the certificate key you created, type the following command at the command line:
openssl req -new -x509 -days 365 -key C:/ssl/keys/ca.key -out C:/ssl/certs/ca.cerThe following screen appears.
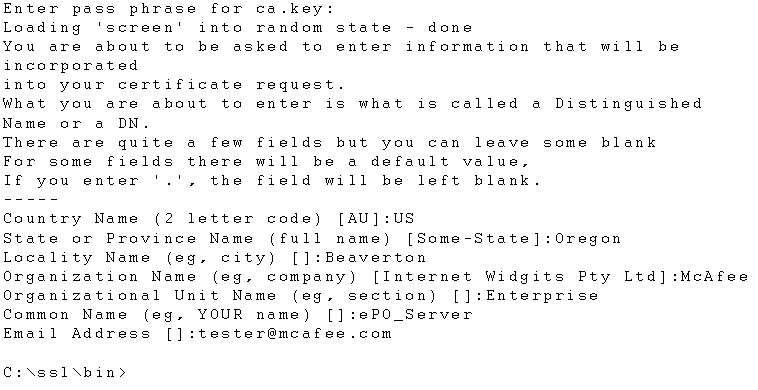
Type the information needed after the following command prompts:
Country Name (two letter code) [AU]:State or Province Name (full name) [Some-State]:Locality Name (for example, city) []:Organization Name (for example, company) [Internet Widgits Pty Ltd]:Organizational Unit Name (for example, section) []:Common Name (for example, YOUR name) []:Note
At this command prompt, type the name of your server, for example your ePO - On-prem server name.
Email Address []:
The file named
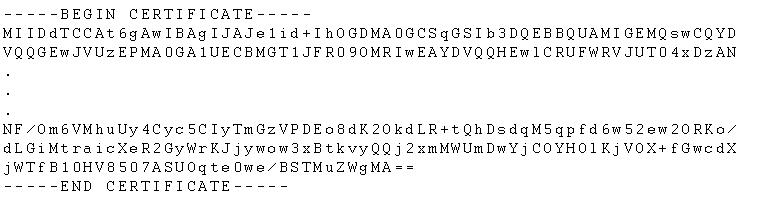
ca.ceris generated and stored in the pathC:\ssl\certs\.The self-signed certificate looks similar to the following example.
To upload the self-signed certificate, open the Edit Server Certificate page.
Select Menu → Configuration → Server Settings.
From the Setting Categories list, select Server Certificate, and click Edit.
Browse to the server certificate file, then click Open.
In this example, browse to
C:\ssl\certs\and selectca.cer.If needed, type the PKCS12 certificate password.
If needed, type the certificate alias name.
Browse to the private key file, then click Open.
In this example, browse to
C:\ssl\keys\and selectca.key.If needed, type the private key password, then click Save.
Restart ePO - On-prem for the change to take effect.