After rebooting, log into the server using the default credentials.
Username: fireeye
Password: f1re3ye
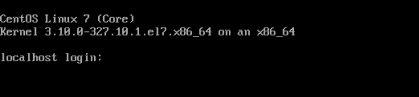
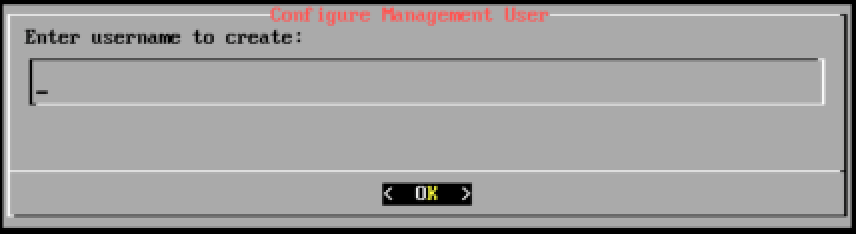
Create a new user account to replace and disable the default account. You will need to use the credentials you are creating now to log into the server.
Enter a password for this account. Reenter the password for confirmation.
Important
Create a strong password, not a weak one that is easy to crack.
Specify whether you will be using DHCP to configure your management interface.
Enter the hostname for this device. This is the name that you provided in the Cloud Collector Planning Worksheet.
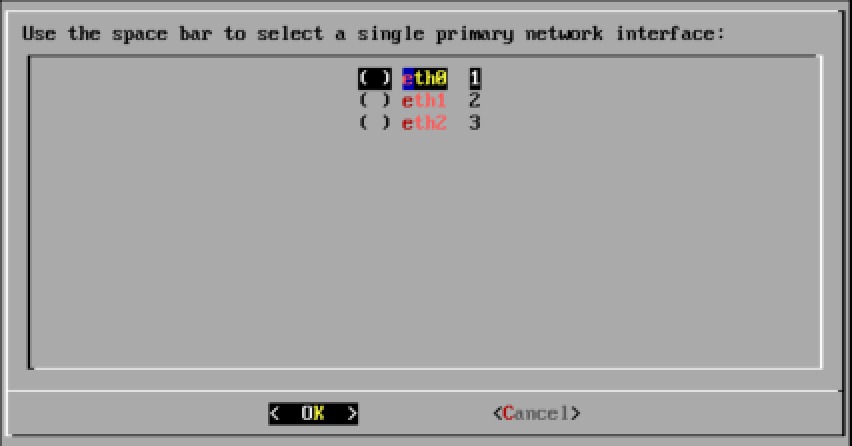
Using the space bar, select the interface to be used as the Management Interface, and press Enter.
If you have chosen to use DHCP for the management interface configuration, skip to step 8; otherwise enter the following:
IP address to assign the management interface
Netmask for this IP address
Gateway IP address for this network
DNS search domain appropriate for this host
IP address of the primary DNS server
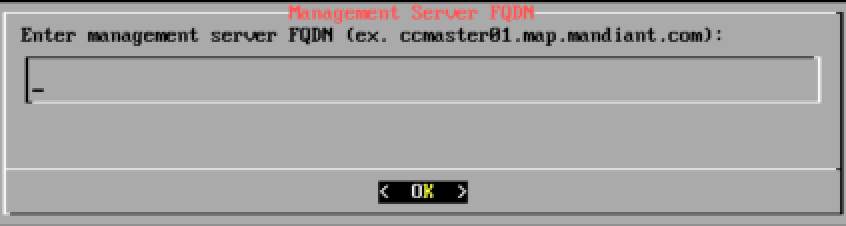
Enter the FQDN of the Cloud Collector management server, provided in Network Firewall Requirements.
Enter your Helix ID, which is visible in the upper right corner of the Helix Web UI.
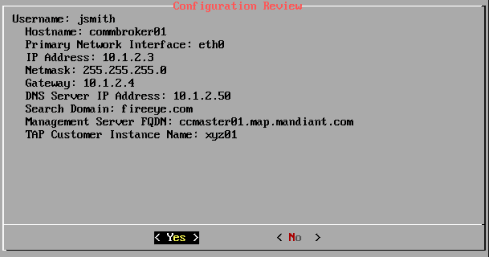
Review your entries.
Use the arrow or tab key to select either Yes or No. Selecting No will restart the configuration process and allow you to make necessary changes. Selecting Yes will confirm the information you have entered and commit the configuration changes.
Select OK to reboot the device. Be sure to remove the installation media.
After the reboot has completed, send an email to support@fireeye.com with the hostname of the Comm Broker host you have just configured. Your key will then be accepted on the management server, and the Cloud Collector management team will perform the final post-installation configuration of the device. Please allow one business day for this to be completed.
Configuring the Comm Broker
- Published on Sep 5, 2026
- 1 minute(s) read
Was this article helpful?