Follow these steps to create a custom report from a predefined report template using the Central Management System appliance Web UI.
Note
To preview your report, click the toggle button ( ) in the custom report configuration page. Click the button again to return to edit mode.
In the Web UI, choose Reports > Custom Reports.
Select the Show Pre-populated Reports checkbox. All the available static reports are displayed as predefined report templates.
In the Generated Custom Reports table, locate the report template you want to clone.

Click the action icon (
.png "CM_AlertMgmtAction_icon.png") ) in the Action column.
) in the Action column.Click Clone. The attributes or characteristics for each section of the report template appear.

Drag the section to the intended position in the custom report.
To edit the table attributes or graph characteristics of a section and save it as part of a new report, click Edit.
For details about how to edit a graph section, see Editing the graph section of a custom report using the Web UI . For details about how to edit a table section, see Editing the table section of a custom report using the Web UI .
To create a clone of a section, click Clone. The attributes of the existing report section are copied as a new section.
If you want to delete a clone of the applicable section from the report, click Delete.
You have the option to generate the report by clicking Generate Report.
The following message appears:
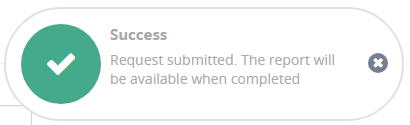
The custom report is added to the top of the generated custom report list. The report status is displayed as "In progress" in the Generated Custom Reports table. The status is updated as soon as the generated report is available.