Follow these steps to manually edit a tag that is associated with a Network Security alert in the Alerts page on a Central Management System appliance using the Web UI.
Note
You can manually edit tags in the Alerts page only using the Central Management System appliance Web UI.
Note
You can manually edit only unrestricted tags in the Alerts page on the Central Management System appliance.
Note
A user that is assigned an Admin Role can edit a restricted tag.
Access to the Web UI of the Central Management System appliance as Admin or Analyst
Admin access to edit a restricted tag
In the Central Management System appliance Web UI, choose Alerts > NX > Alerts.
In the table on the NX: Alerts page, locate the tag you want to edit for an alert.
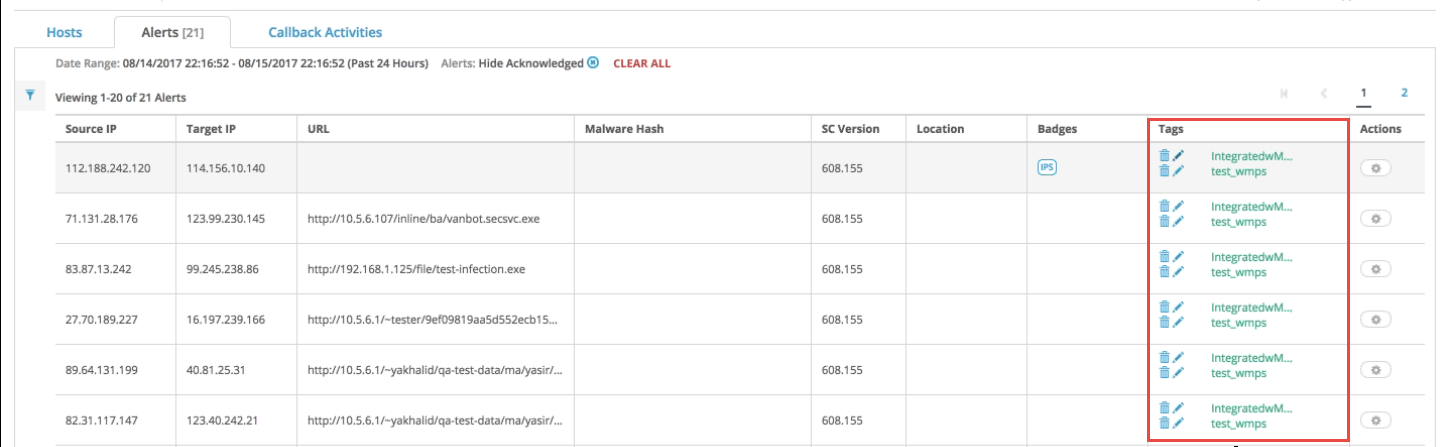
Click the edit icon (blue pencil) next to the tag you want to edit. The Edit Tag window opens.
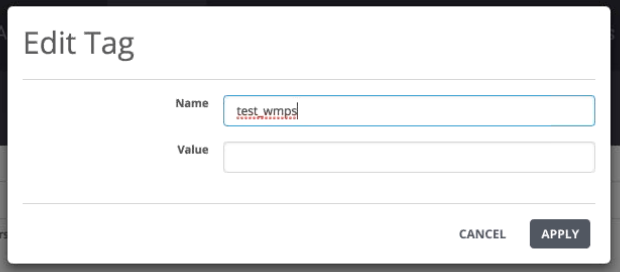
In the Name field, modify the name of the tag that is associated with an alert.
In the Value field, modify the name of the value that is associated with a tag.
Click Apply.
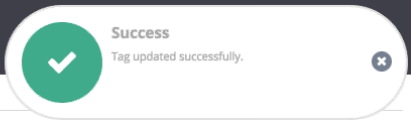
The following message appears: