This section describes how to install a virtual Network Security, Central Management System, or File Protect appliance.
Important
This procedure uses VMware ESXi version 6.0.0 (build 3568940) and vSphere Client version 6.0.0 (build 3562874) on VMware vCenter Server version 6.0.0 (build 3018524). The navigation instructions and user interface may vary based on your version of these products.
Note
This procedure covers the required settings for a Trellix virtual appliance. You can accept the default values for the other settings, or specify values that are appropriate for your setup.
Log in to vSphere Client.
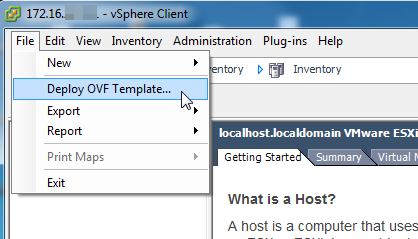
From the File menu, select Deploy OVF Template to start the wizard.
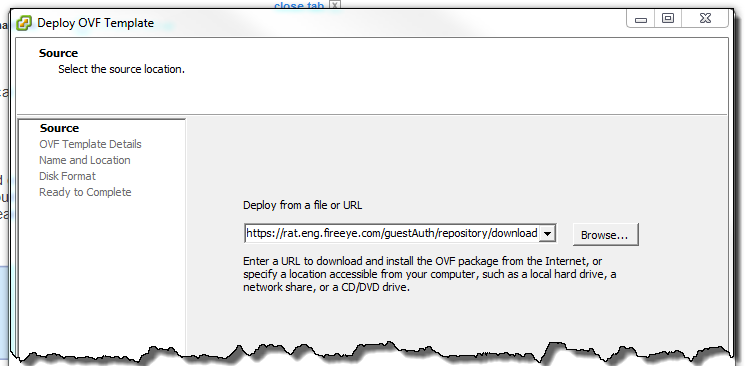
On the Source screen, paste the URL that Trellix provided that points to the OVA file containing the Network Security, Central Management System, or File Protect system image, or click Browse and navigate to the OVA file stored in your file system, and then click Next.
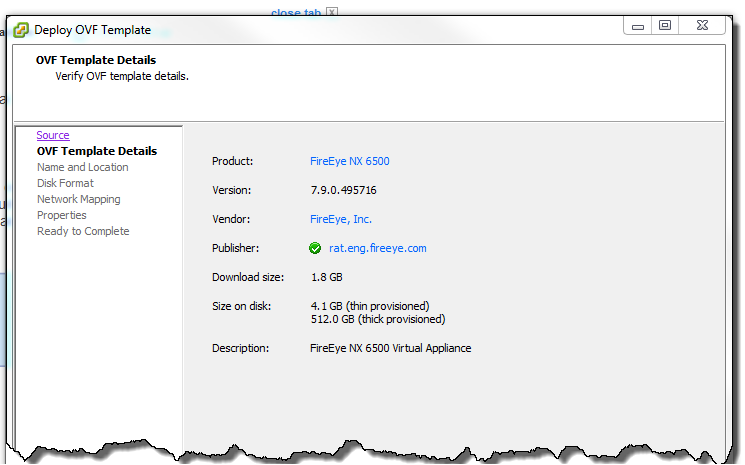
On the OVF Template Details screen, review the information. If the information is correct, click Next. Otherwise, click Back and enter the correct URL or path.
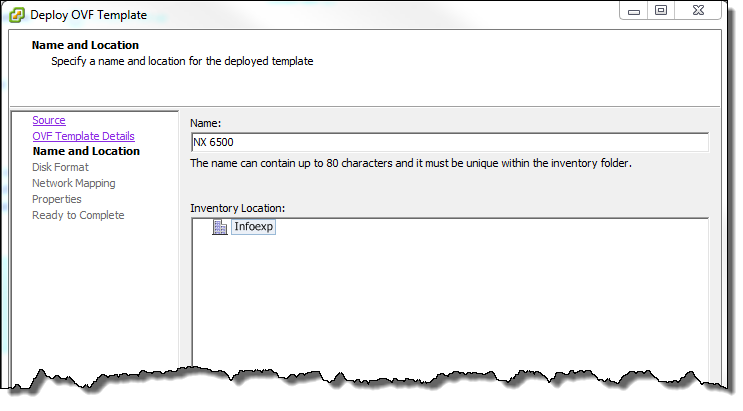
On the Name and Location screen, enter a unique name that describes the virtual appliance.
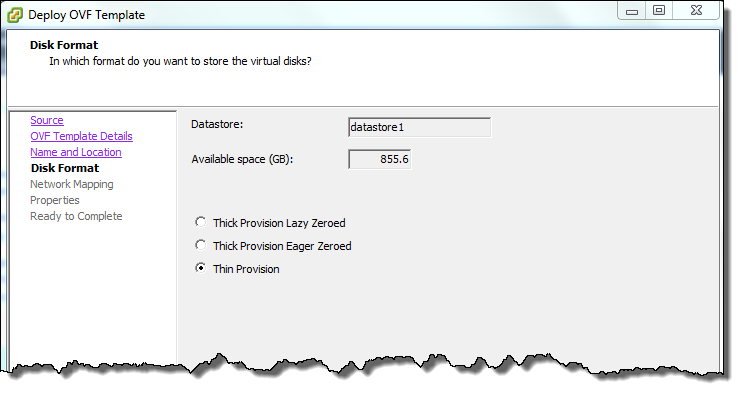
On the Disk Format screen, select Thin Provision, and then click Next.
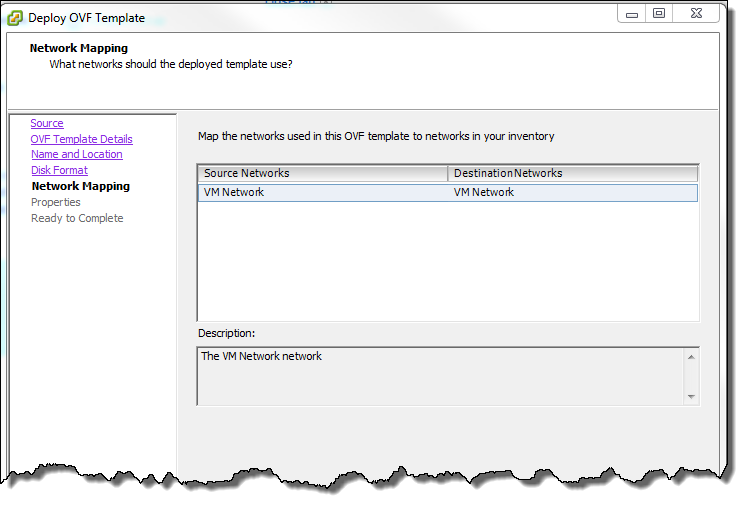
On the Network Mapping screen, click Next to accept the default settings.
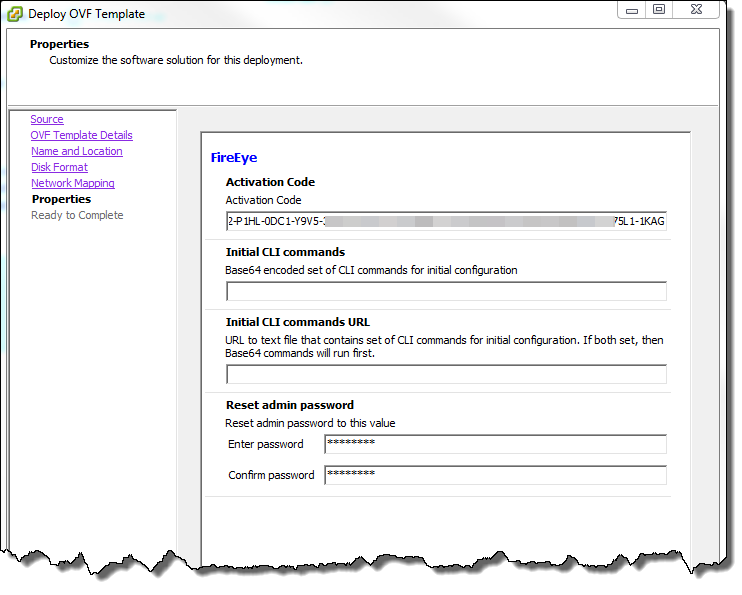
On the Properties screen, you can complete fields to configure initial settings as described in Using the properties screen. (If you do not use this screen, you must type the values into the vSphere Client console manually, because you cannot paste into this console.)
On the Ready to Complete screen:
Verify the information.
(Optional) Select the Power on after deployment check box.
Click Finish.