Creating a phishing simulator campaign
To create a new phishing simulator campaign, click Create New Campaign on the top-right of the Campaigns page. You will be redirected to the Create Campaign wizard.
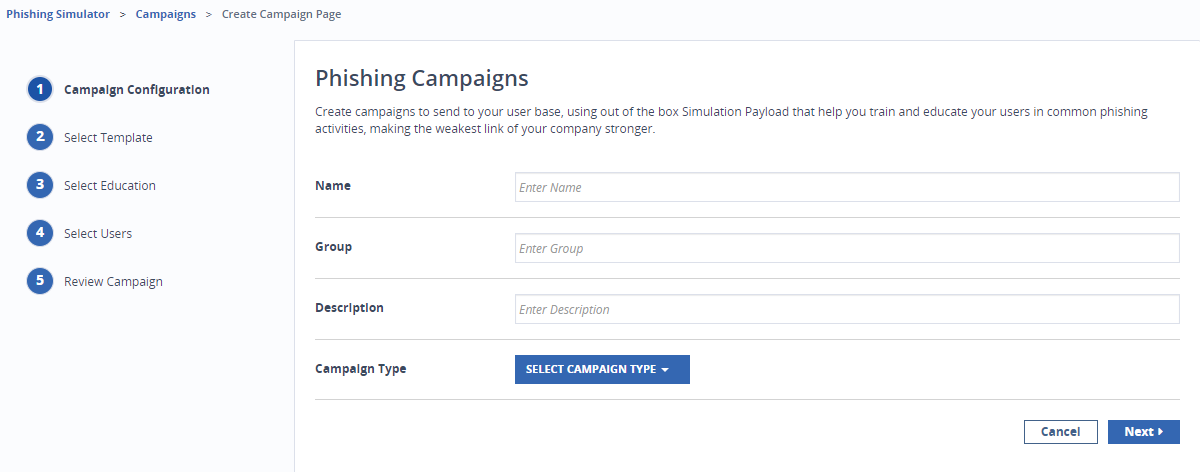
Campaign Configuration: Enter the name, group, short description and the type of the campaign. Select Next to move to the next step. You can also select Cancel to cancel the process.
You can choose from two types of templates - malicious URL and malicious QR code. In the first type, the user needs to click on a URL. In the second type, the user needs to scan a QR code.
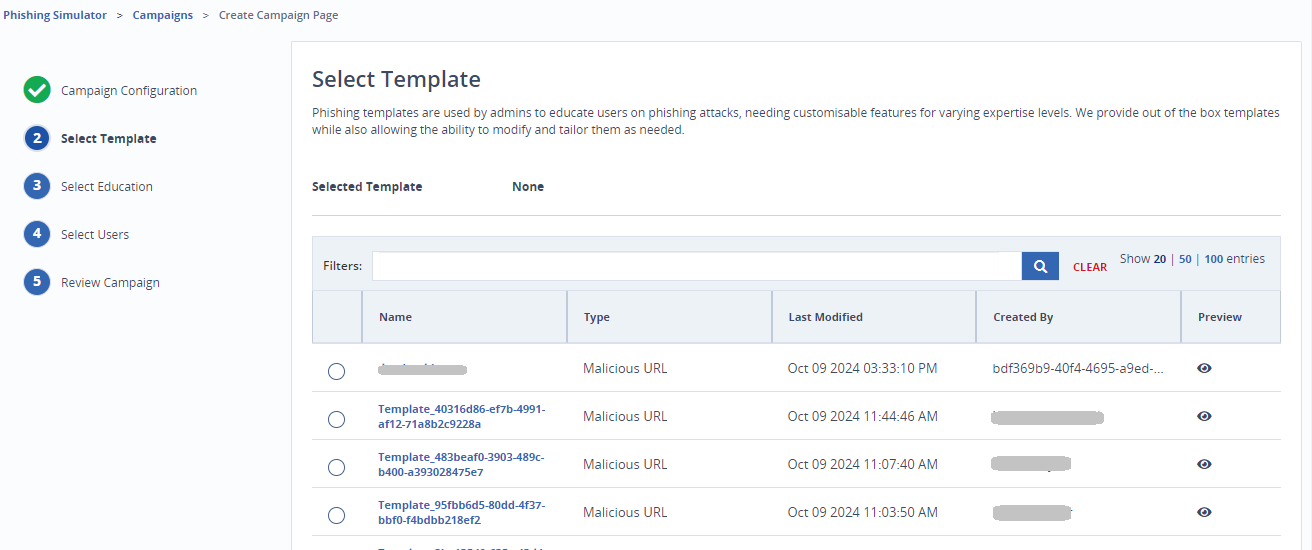
Select Template: Select a template for your simulated emails from the lists provided. You can select a template created by yourself or an existing system generated templates.
Select Next to move to the next step or Back to go to the last step. You can also select Cancel to cancel the process.
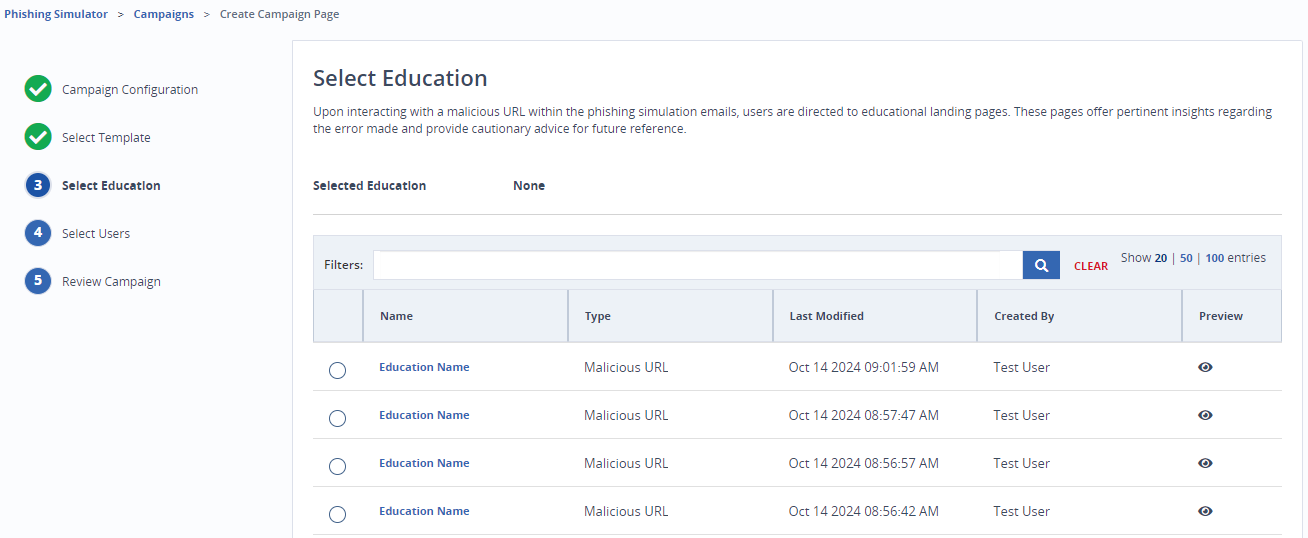
Select Education: Select an educational article for your simulated emails from the list provided. You can select a template created by yourself or an existing system generated templates.
Select Next to move to the next step or Back to go to the last step. You can also select Cancel to cancel the process.
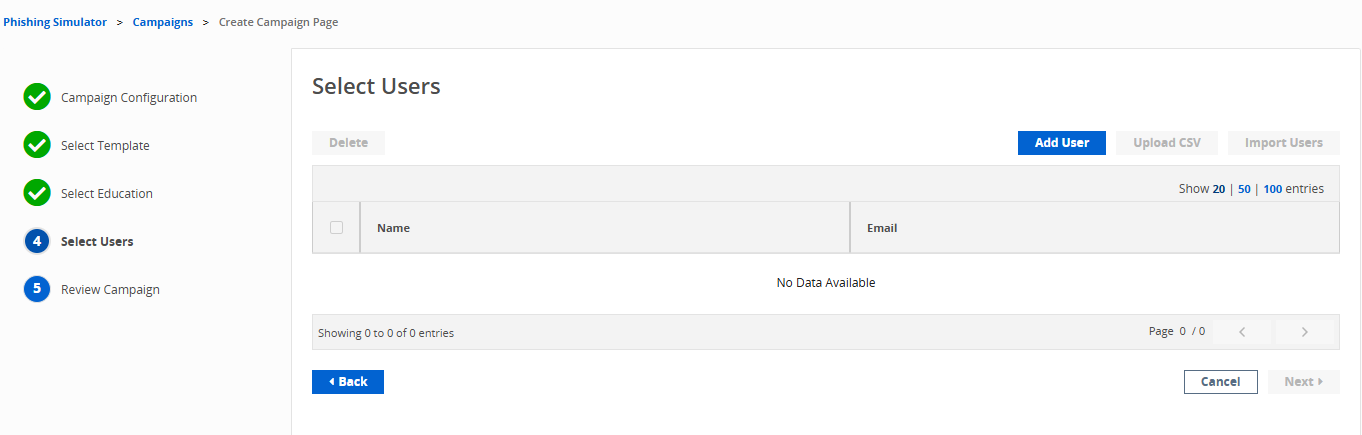
Select Users: Select groups of users or specific users to share the simulated emails with, from the list provided.
You can Import Users from existing active directories or Add Users manually, using the respective buttons.
The Import Users button will open a popup with a list of users synced fromMS 365 OR GSuite. You can select users or email groups from the list and click Ok to import the selected users. If you select email groups, then all the members of the group will be imported.
You can also upload a user list in .csv format using the Upload CSV. You need to make sure that the CSV file has 2 columns - name and email.
Caution
The Upload CSV and Import Users options will be disabled in the default version. You need to buy a license to remove the limitations.
Select Next to move to the next step or Back to go to the last step. You can also select Cancel to cancel the process.
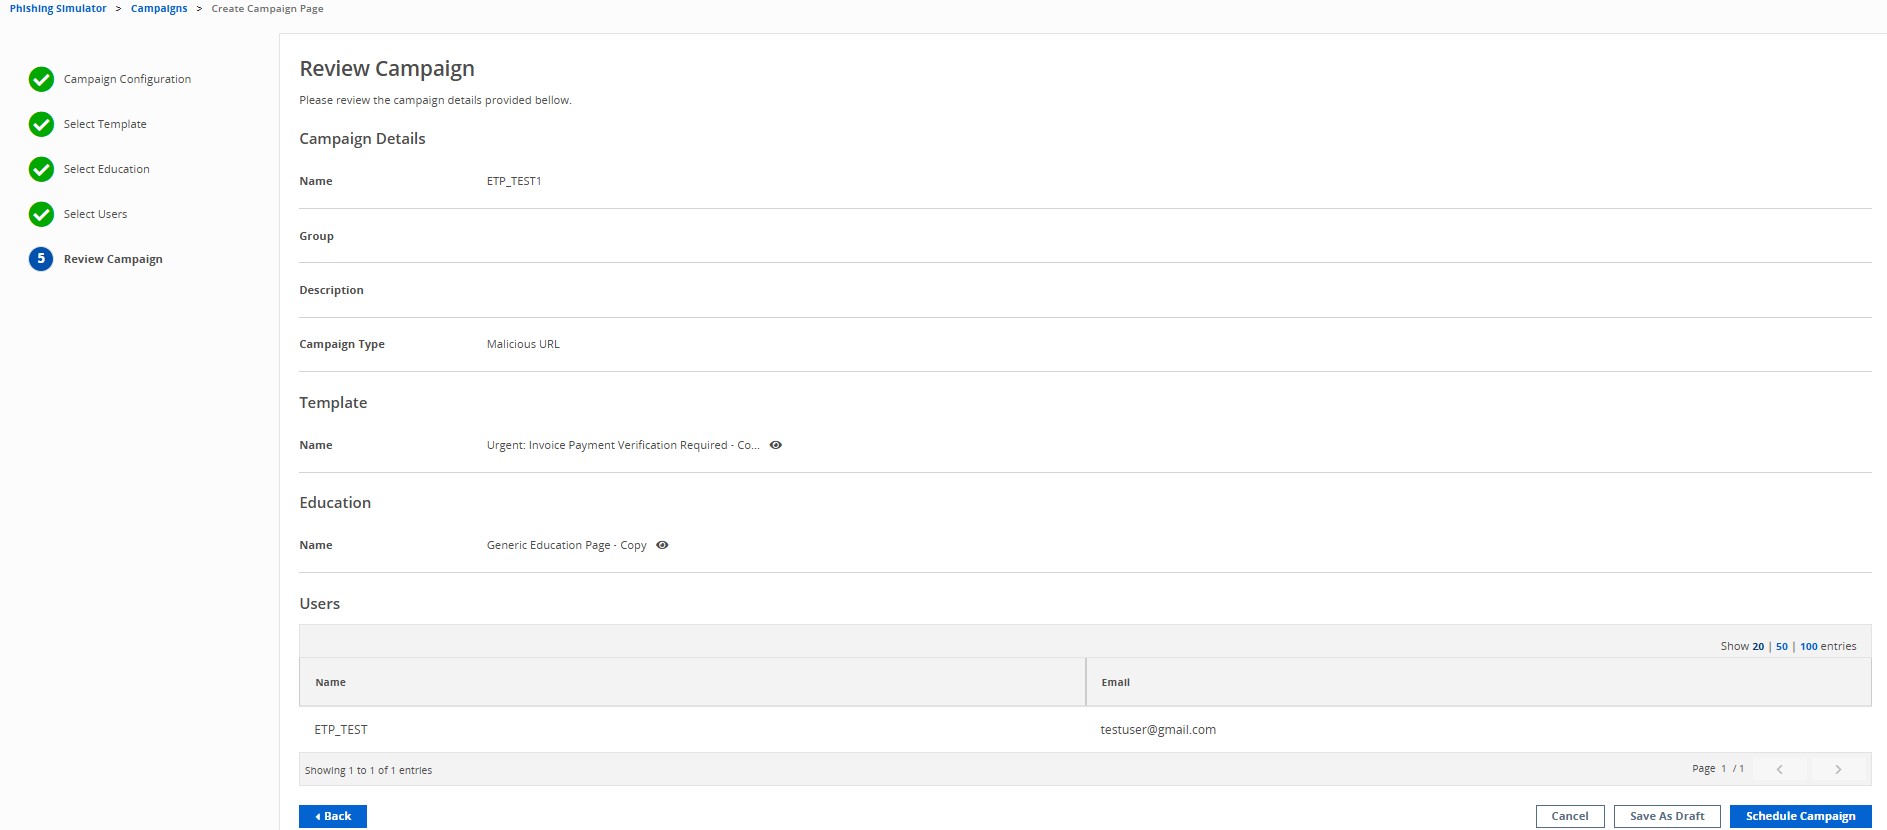
Review Campaign: Review all your selections in this page. You can go back to make changes. Select Schedule Campaign to schedule the launch of the campaign. You can also save your selection as a draft and create the campaign later or cancel the process.
You can choose to Launch Now. Otherwise, select the date, time and time zone for a launch later.
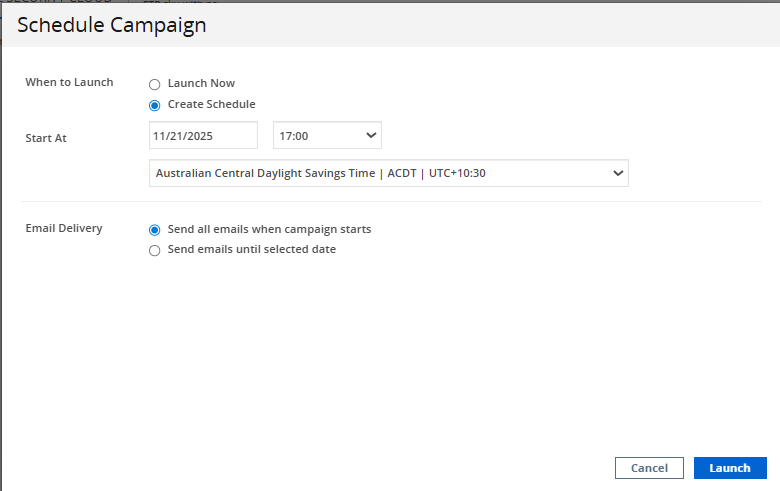
For delivering emails, you can choose to send all the emails when the campaign starts.
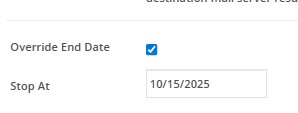
You can also send emails until a selected date. Select the date, days of the week and duration for sending emails. The business end time should be later than the start time. Select a start time from 0–23 hours and an end time from 1–24 hours. Enable Override End Date and select a date to stop the campaign.
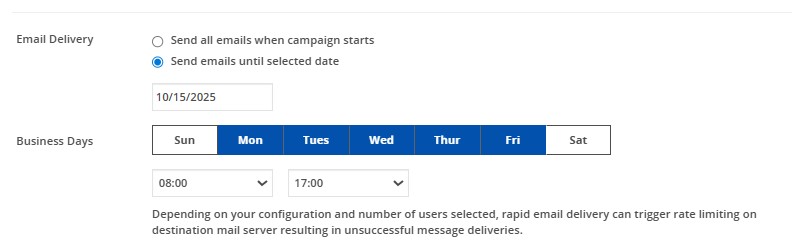
Select Launch to launch your campaign and share with the listed users.
Editing a campaign
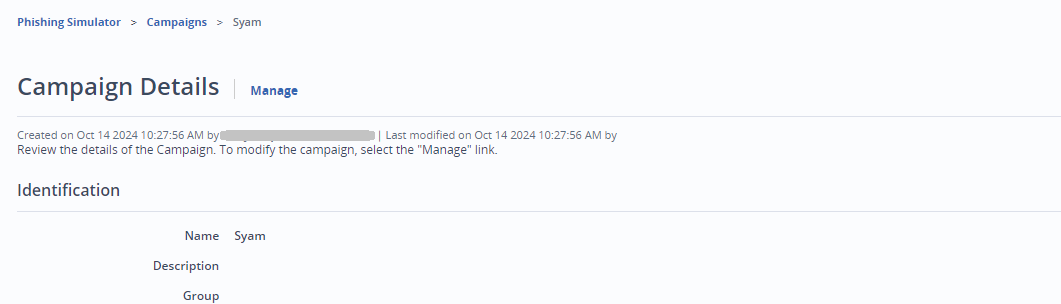
Click Manage on the top-right of a Campaign details page to edit the campaign. You will be redirected to the Create Campaign wizard.
Follow the steps stated in the creating campaign section to modify details of the existing campaign. Select Launch when done.
If a campaign is scheduled to start in less than 10 minutes from the current time, the campaign cannot be edited.