A step-by-step procedure to configure a remediation scan for your file server repositories and apply a Network Discovery rule.
Log on to ePO - SaaS.
In ePO - SaaS, navigate to Menu → Data Protection → DLP Policy Manager and create a rule set.
In the Rule Sets tab, click Actions → New Rule Set.
Enter a name for the rule set and an optional description, then click OK.
Open the rule set that you created and click the Discovery tab.
Click Actions → New Network Discovery Rule → File Server Protection.
Provide a name and an optional description for the rule.
Open the rule to set the Condition, Exceptions (optional), and Reaction for your rule.
In the Reaction tab, select the Report Incident checkbox to view the incidents in the Incident Management workspace.
Create network discovery scans.
In ePO - SaaS, navigate to Menu → Data Protection → DLP Discover → Scan Management.
Click New Scan to create a new scan with repositories and credentials.
Select the scan type as Classification or Remediation.
Select Discover Server.
Select schedules.
Select repositories.
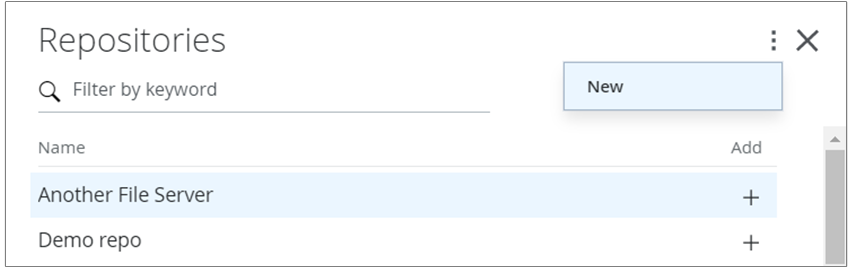
To create a new repository, click New from the three-dots menu and provide the required details.
Click New from the three-dots menu to add new credentials for the repository.
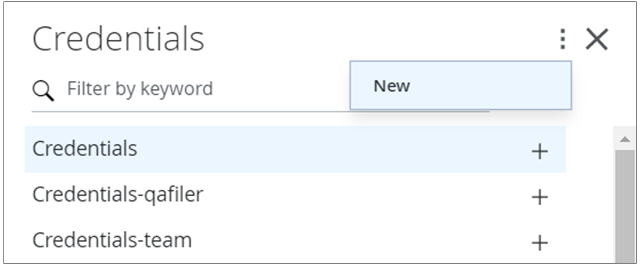
In the Credentials pane, provide the user name and password for the new repository. The credentials for the repository are added to the list.
Select the ruleset that you created.
Click Save.
After you have saved the scan details, click Apply Policy.
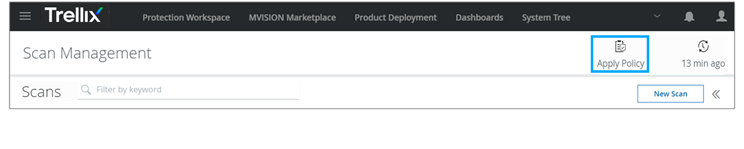
When the policy is being applied, it appears as Applying Policy.
Note
After you click Apply Policy, the scan starts only when the next agent-server communication happens. The default and minimum agent-server communication interval is 60 minutes.
The configured scan gets added to the Scan Management page and runs at the specified time.