This step creates the communication link at the policy level by assigning the registered Endpoint Security (HX) server instance to the applicable endpoint policy. Endpoints governed by that policy then direct all forensic data communications to the specified server.
You can configure the ePO server to connect to the Endpoint Security (HX) server using one of the following methods:
Automatic mode
Log in to ePO - SaaS.
Navigate to Menu → Configuration → ePO - SaaS Settings.
Select the HX Instance Management in the left pane and click Edit in the bottom right corner.
Click Actions in the bottom left corner, and then select Add HX Instance.
Provide the details for HX Server Name and HX Server URL.
For the HX Server URL, use the Fully Qualified Domain Name (FQDN), such as
https://servername:port/.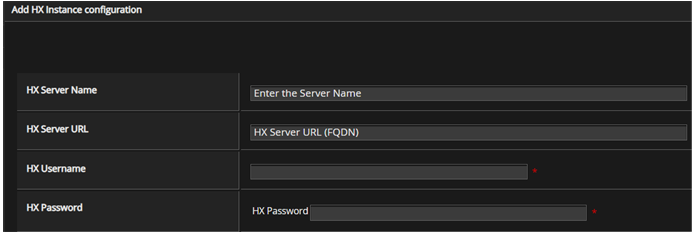
Click Show Cert.
Validate that the certificate fingerprint in ePO matches the HX server's certificate fingerprint.
Select the Confirm the HX certificate is valid checkbox.
Enter the HX server administrator credentials.
Note
Use the Endpoint Security (HX) server administrator username and password, not your IAM credentials.
Click Get HX Config.
The HX server configuration file downloads to your endpoint.
Click OK and then click Save.
Note
You can add multiple Endpoint Security (HX) server instances. Before deleting an instance, ensure it is not selected in any General policy.
After adding the server instance, you must enable communication in the Policy Catalog to complete the integration. For more details, see Enable server communication.
Manual mode
Log in to ePO - SaaS.
From the Actions menu, select Add HX Instance.
Enter the HX Server Name and HX Server URL.
Enable the Manually add HX instance toggle.
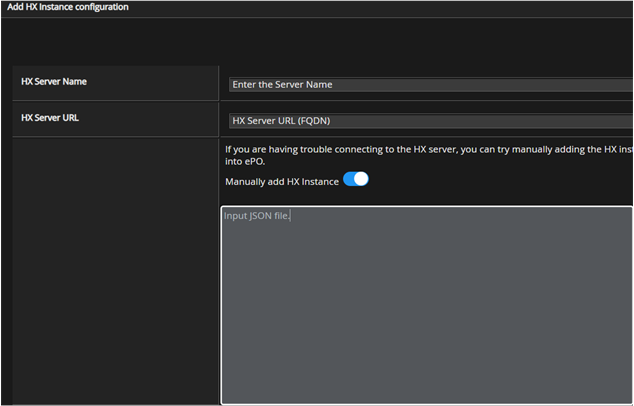
To get the server configuration JSON, run this curl command:
curl --proxy <proxy server> -s -k GET "https://HOST:PORT/hx/api/v3/server_info" -H "accept: application/json" -i --user username:password For example: curl --proxy proxy.internal.corp:8080 -s -k GET "https://[2001:db8:a0b:12f0::1]:3000/hx/api/v3/server_info" -H "accept: application/json" -i --user api_user:P@ssw0rd3xampl3!
Note
If you use a cloud HX server, run the command without the port number.
From the command output, copy the JSON snippet from
{"servers"to just before ,"message" : "OK"}.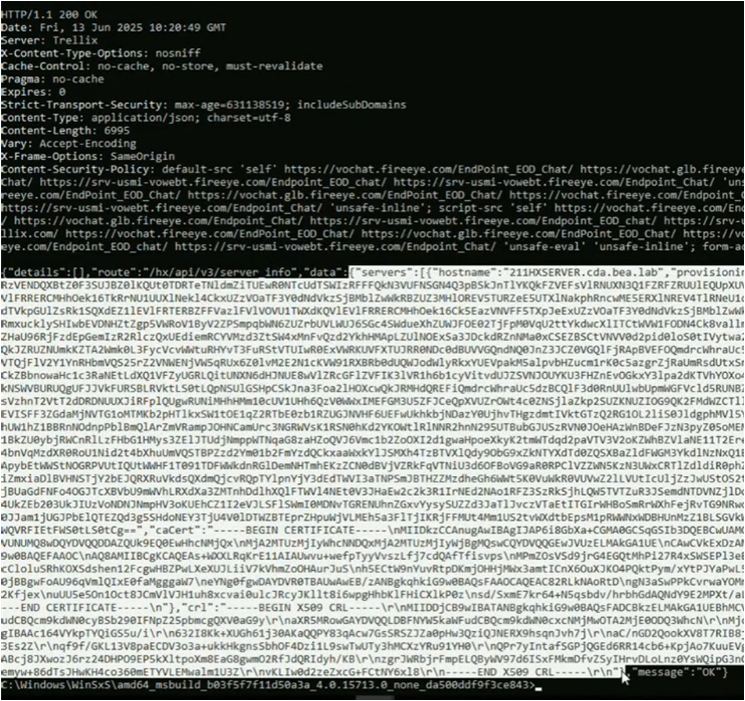
Paste the snippet and the user credentials into the server configuration field.
Click Save.
After adding the server instance, you must enable communication in the Policy Catalog to complete the integration. For more details, see Enable server communication.
Enable server communication
After adding the HX server instance, you must select the added HX server in the Policy Catalog.
Go to Menu → Policy → Policy Catalog.
From the Product list, select Trellix EDR with Forensics.
Expand the General policy and click Edit for the applicable policy.
Click Show Advanced and go to Forensics (HX) Server.
From the Registered Forensics (HX) servers list, select the configured HX instance.
Click Save.
Note
You can add multiple Endpoint Security (HX) server instances. Before deleting an instance, ensure it is not selected in any General policy.