The ether1 interface on the Network Security virtual machine is the only interface that Azure creates by default using the default Azure Marketplace listing. You must create the optional submission interface (ether2) and the monitoring interfaces (pether3, pether4, and so on), and then attach them to the virtual machine. (If your virtual machine was created using an ARM template, the ether1, ether2, pether3, and pether4 interfaces are already created for you.) You can optionally create two additional network interfaces (pether 5 and pether6) for instance sizes that support six interfaces.
IP forwarding must be enabled on monitoring interfaces to ensure that all network traffic reaches the Network Security appliance.
In the Azure portal, select All services, and then click Network interfaces under Networking.
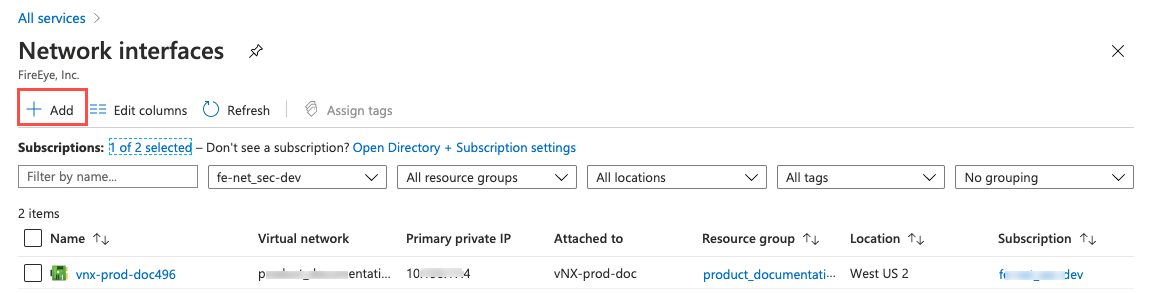
Click Add. The Create network interface page opens.
Make sure the correct Subscription is selected.
Select the correct Resource group.
Enter a meaningful Name for the interface.
Make sure the correct Region, Virtual network, and Subnet are selected.
Important
Each interface must be in a separate subnet.
Recommended: Click Static and enter a static IP address to assign to the interface. Otherwise, select Dynamic.
Select the correct Network security group.
Select the Private IP address (IPv6) check box if the subnet uses IPv6 addresses.
Click Next: Add tags and specify name and value pairs for the tags to apply to the network interface.
Click Review + create.
Click Create after the validation passes and you confirm the information on the page.