Last Updated: May 21, 2026
About the Thrive Community
Thrive Community, an evolution of Trellix Thrive, is where Trellix customers and partners come together to connect, learn, and get the most out of their Trellix investment. The Community allows you to:
Leverage AI-powered search for problem-solving
Connect with peers, Trellix team members, and product security experts
Access Knowledge Base articles, best practices, and product documentation
Participate in discussions, ask questions, and share solutions
Build on existing skills and become familiar with best practices
Stay informed on product updates, events, and announcements
Access Trellix Support and Trellix Academy
Login to Thrive Community
After navigating to thrive.trellix.com, click the Login button and then enter your Thrive Community username and password.
Important
If you need a Thrive Community user account, consult your organization’s Thrive portal administrator.
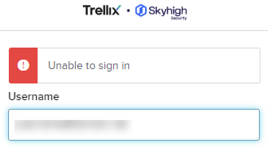
If you receive an Unable to Sign In message, check your inbox for an email with the subject Welcome to Trellix & Skyhigh Security and then click the activation link.
If access issues persist, please contact Trellix Support.
Reset your Thrive Community password
After accessing the Community home page, click the Log In button.
Enter your username and then click Next.
Note
Note: If you see Unable to sign in before entering your password, check your inbox for an email with the subject Welcome to Trellix & Skyhigh Security and click the activation link in the email.
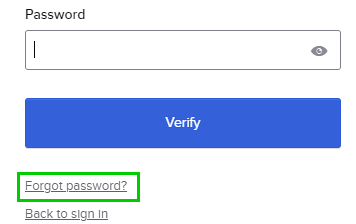
3. Click: Forgot password?
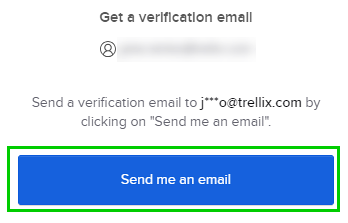
4. Click Send me an email to receive a password reset email.
Start using the Thrive Community
After login, on the Community home page, click the Get Started button as shown below.

On the resulting page, you can:
Update your profile to help optimize your Community experience
Access discussions about topics like Endpoint Security, Threat Intelligence, Best Practices and more
Update your Thrive Community profile
To view and edit your user profile:
After login to Thrive Community, click your avatar at upper right and then select View Profile.
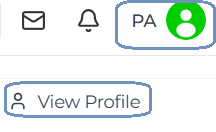
Click the Edit button next to one or more of the following categories to update your preferences as desired:
Bio
Details
Interests
Notification Preferences
To enable notifications, click to toggle the button shown below to the on position:

Click the Save button.
Adjust your Thrive Community account settings
After login to Thrive Community, click your avatar at upper right and then select Settings.
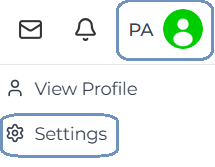
In the Preferences section, to automatically add your created discussions to the Favorites page, optionally move the button to the on position.
In the Email Notifications section, update your Email notification frequency as desired:
None: No email notifications will be sent.
Instant: You will receive a notification email each time a favorite topic or discussion is updated.
Daily Digest: You will receive one email per day that summarizes your activity and interests during that day.
Search for Thrive Community content
Enter a question or search string in the search box as shown in the example below, and then press Enter.

Optionally select any of the following tabs to filter search results:
All: All Community content, including discussions, comments, Product Docs, etc.
Discussions: Content within Community discussions
Comments: Content within comments on Community discussions.
Topics: Content within Community topics
Users: Community usernames
Events: Community events
KB: Knowledge articles
Docs: Public report documents
trellix.com: trellix.com content
Product Docs: Technical documentation on docs.trellix.com
Topics tab
In the Community site header, click the Topics tab to display topics that are available for discussion.

In the Topics tab, you can:
Search for content in topics and discussions
Rate and reply to discussions
Sort Community topics
Start a new discussion
Rate and reply to discussions
After selecting a discussion in the Topics tab, click one of the following:
 : Reply to a discussion
 : Rate a discussion
Sort Community topics
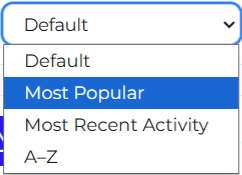
To sort topics, after accessing the Topics page, click to expand the sort drop-down menu and then select the desired sort order:
 Start a new discussion
To start a new discussion, after accessing the Topics page:

Cick a topic, for example:
In the topic page, click the Start Discussion button.
Enter a discussion subject in the Title filed.
Optionally enter search tags in the Tags field.
Enter a description for the discussion in the Description field.
Click: Create Discussion
Favorites tab
In the Community site header, click the Favorites tab, tab to access and subscribe to your favorite topics and discussions.

Events tab
In the Thrive Community site header, click the Events tab to display information about upcoming Trellix events.

You can also do following in the Events tab:
Show event details: Click the Read more link beneath the short description of any event.
Register for an event: After clicking the Read more link to show event details, click the Register today link for the desired event.
Add an event to your calendar: Click the Add to Calendar link below the short description of any event.
Support tab
In the Thrive Community site header, click the Support tab to access support.trellix.com.

The Trellix Support side requires credentials in addition to Thrive Community access. If the Support tab is not in your Community page header, do one of the following:
Request support.trellix.com access from your Thrive Portal Administrator.
Contact Trellix Customer Support and provide your Thrive Community credentials.
After login to support.trellix.com, you can do the following and more:
Open and manage cases
View knowledge articles and other documents
Download Trellix software and updates
Run diagnostic tools to help solve issues
Resources tab
In the Thrive Community site header, click the Resources tab access Community resources such as reports, guidelines, and Knowledge articles.

Accessing Trellix Academy
Click the  button in the Thrive Community site header to access the Trellix Academy site, where you can browse and register for Trellix education courses and services.
Important: Trellix Academy requires permissions in addition to Thrive Community access. If you can't access Trellix Academy, do one of the following:
Request Trellix Academy access from your Thrive Portal Administrator.
Contact Trellix Customer Support and provide your Thrive Community credentials.
Checking messages and notifications
In the upper right corner of the Thrive Community site header:
Click the mail
 icon to access messages delivered through the Community
Click the bell
 icon to see notifications delivered through the Community
About the Trellix Support Site
The Trellix Support site allows you to:
Leverage AI-powered search for problem-solving
Connect with peers, Trellix team members, and product security experts
Access Knowledge Base articles, best practices, and product documentation
Participate in discussions, ask questions, and share solutions
Access the Trellix Community and Trellix Academy
Login to Trellix Support
After navigating to support.trellix.com, click the Log In button and then enter your customer, partner, or employee username and password.
Important
If you need a user account, consult your organization’s Trellix portal administrator.
If you receive an Unable to Sign In message, check your inbox for an email with the subject Welcome to Trellix & Skyhigh Security and then click the activation link.
Update your Trellix Support profile
To view and edit your user profile:
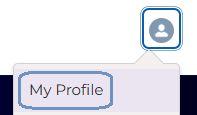
After login to Trellix Support, click your avatar at upper right and then select My Profile.
Click the Edit button.
Update your profile information as needed and then click Save.
Manage Support portal users
Important: These functions are available only to Admin Users.
After clicking your Trellix Support avatar and selecting My Account, click the link for the desired user account.
In the Contact Details panel, click one of the following buttons:

Manage Account Events: Allows you to enable or disable Account Events for the Portal user.
Activate or Update Portal User: Allows you to change a Support portal user's status to Active or update the user's contact information and permission level.
Remove Portal User: Deactivates a Support portal user. If the user has multiple accounts, you will see an option to unlink those other accounts.
Upon removal, The portal displays a message indicating successful activation and the Active Portal User box will be deselected in the Contact Details page.
View Account Entitlements, Grants, Assets, Flex Credits, and User Access History
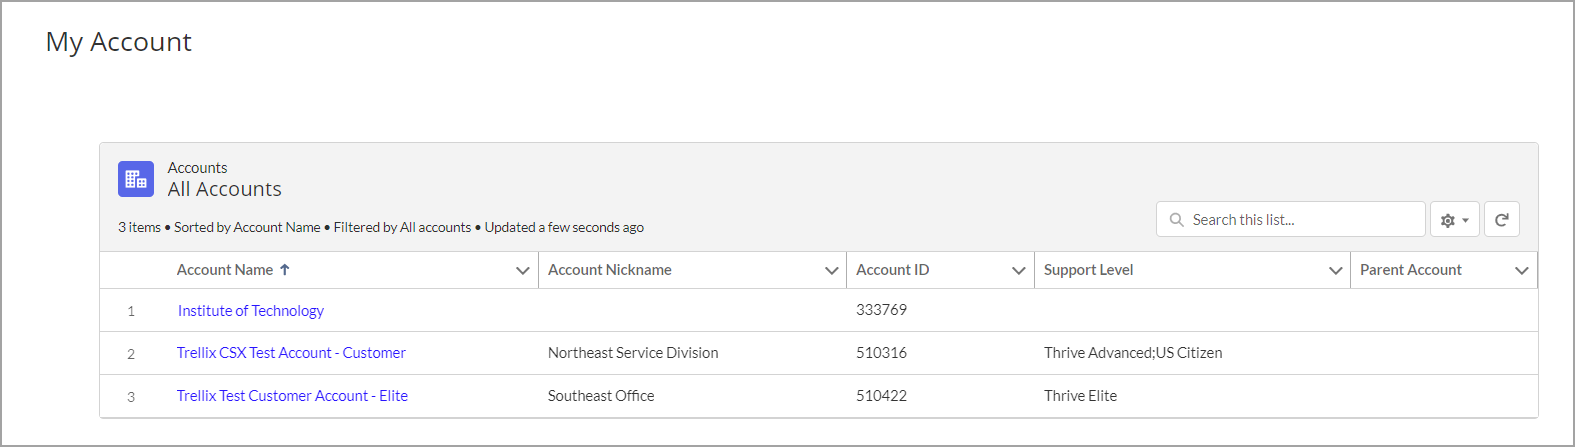
Click on the avatar in the upper right corner of the screen and select My Account.
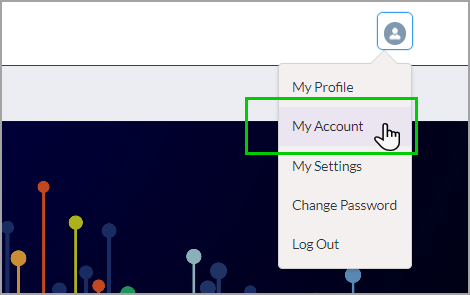
If you are associated to more than one account, a list will be displayed. Select the account you want to view.
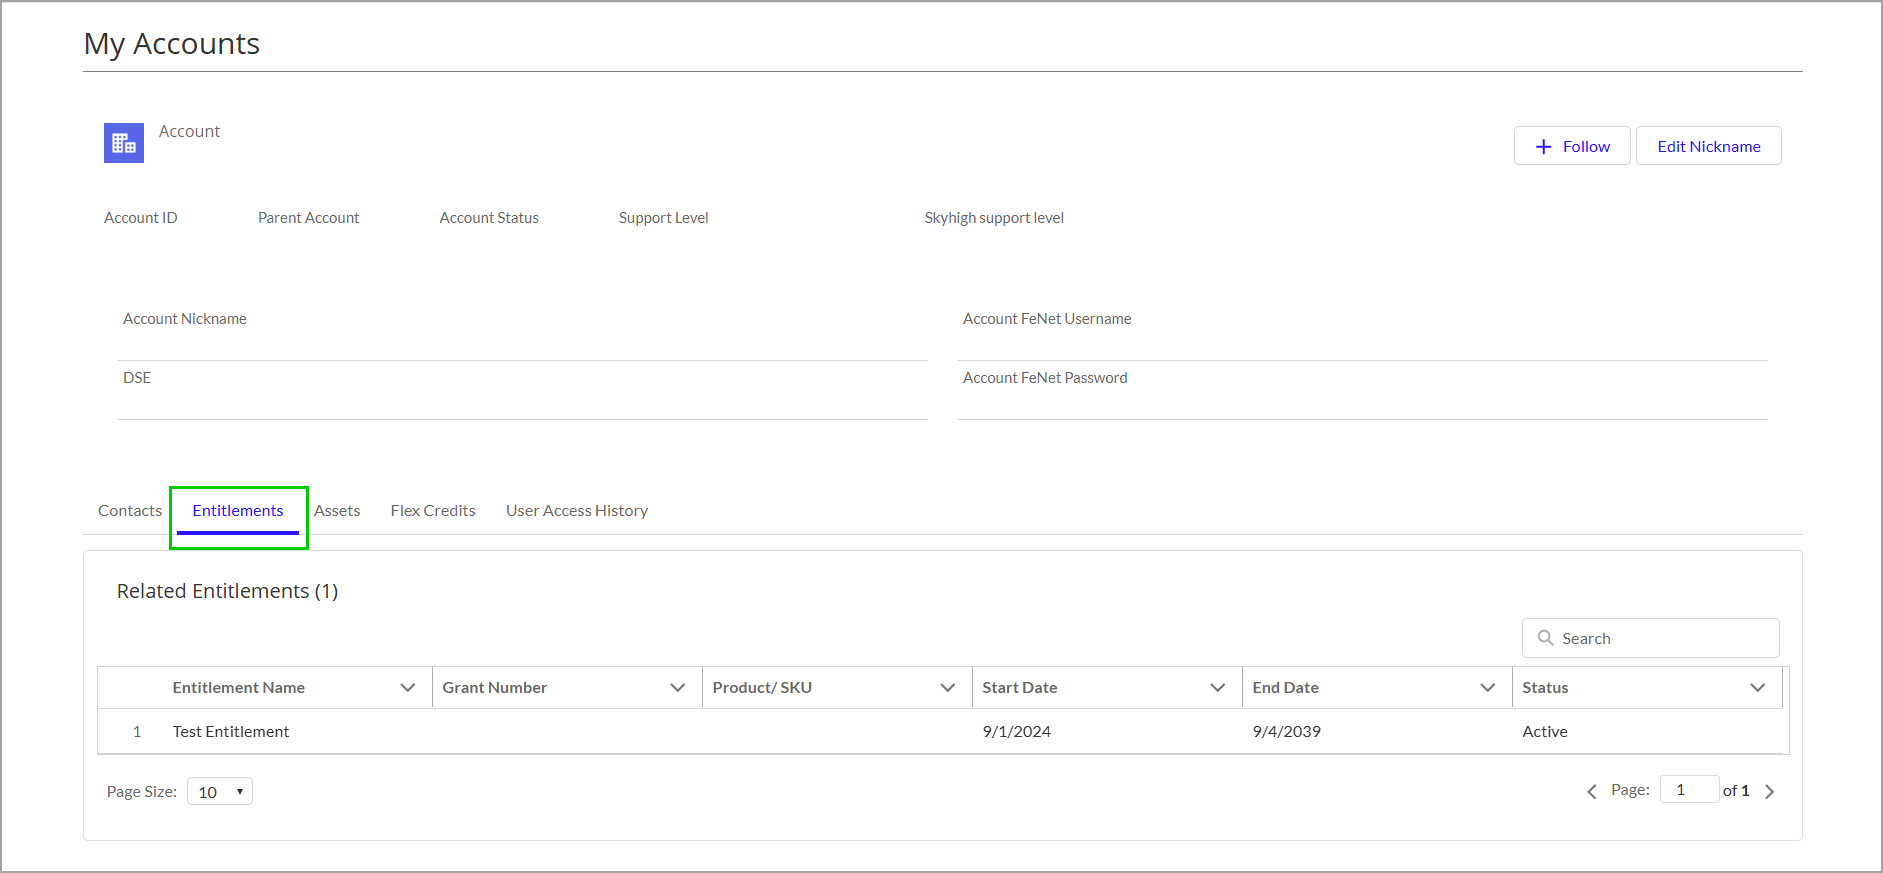
Select the Entitlements tab to view all available Related Entitlements and associated Grant Numbers.
Select the Assets tab to view all purchases of both Hardware and Software suites.
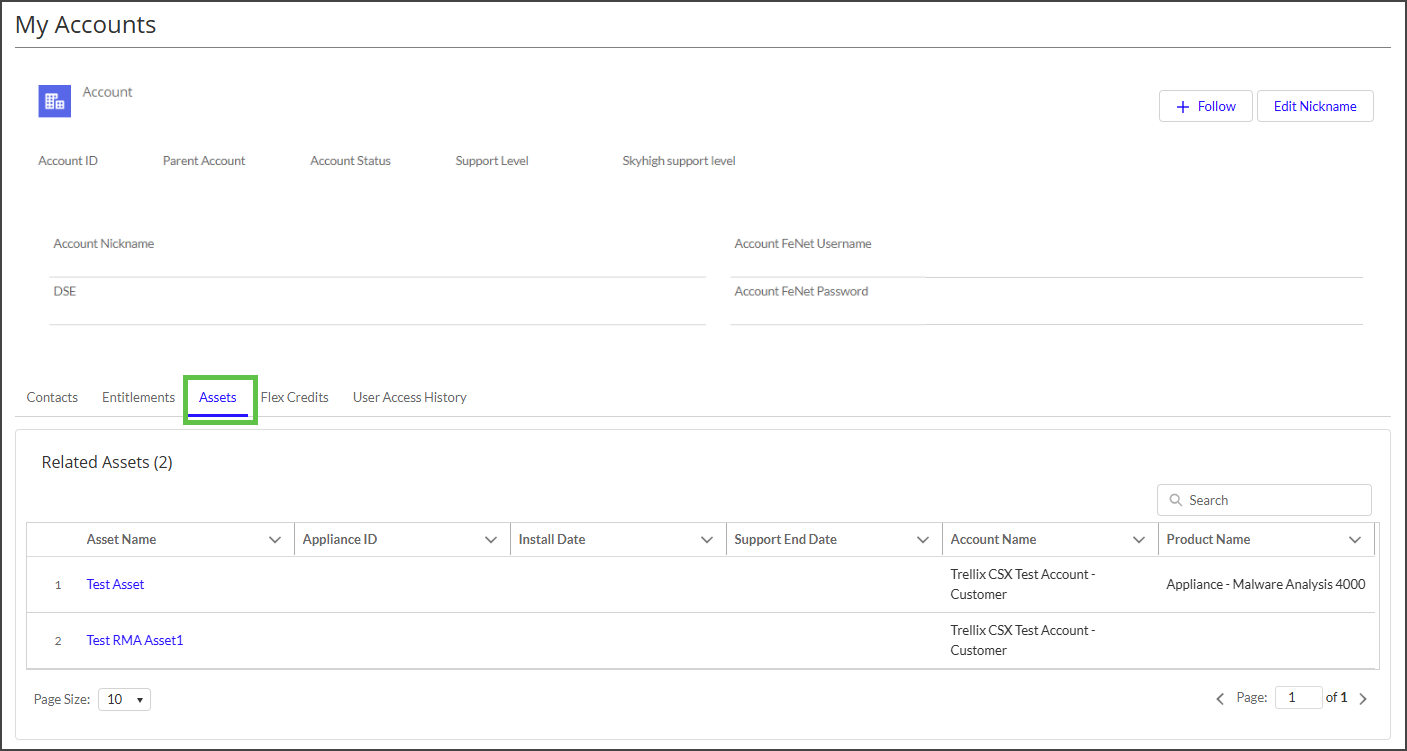
On the Assets list view under each account, Admins can add, modify, or remove an asset nickname for each asset.
Click on the pencil icon to edit an asset nickname. Add, modify or remove the name, then press Enter. Click Save at the bottom of the screen to save any changes you made (add, modify or remove).

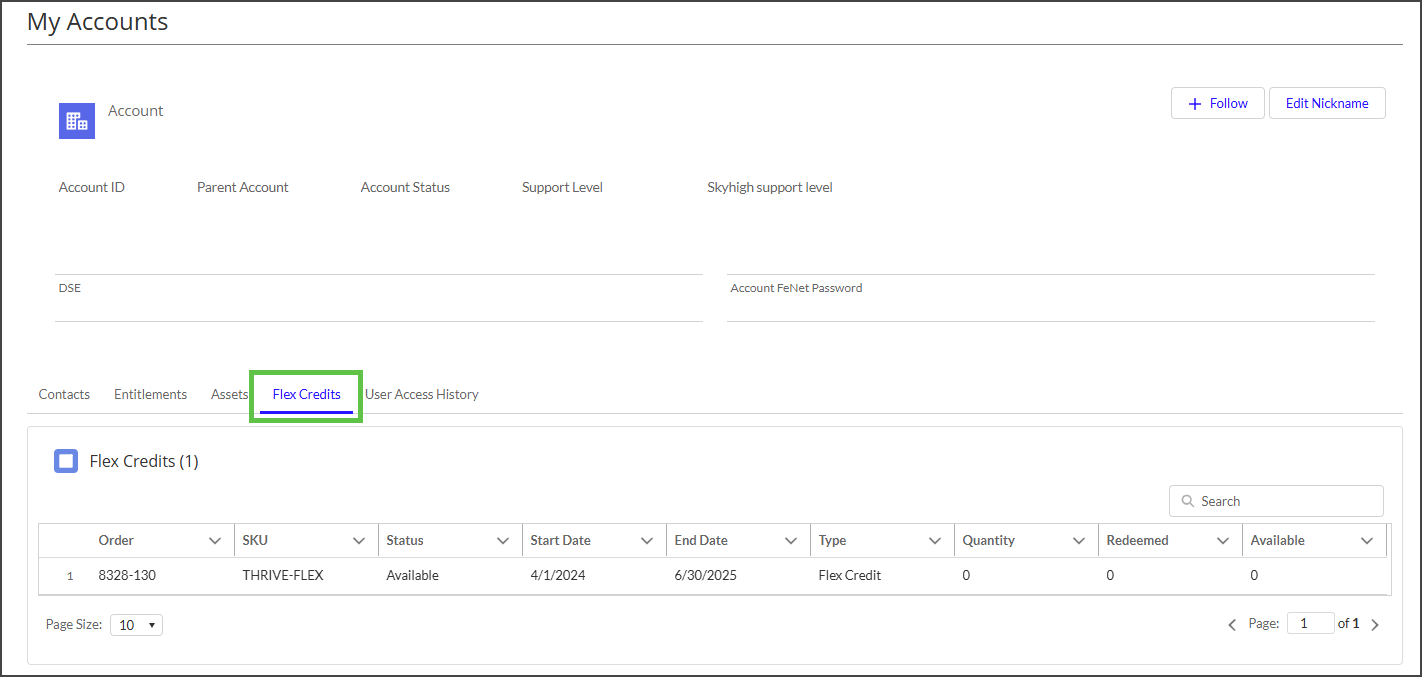
Select the Flex Credits tab to view Flex Credit entitlement details, including SKU, Status, Start Date, End Date, Type, Quantity, Redeemed, and Available. |
|
Customer or Partner Admins can select the User Access History tab to view details when the following actions are performed on a contact:
|
|
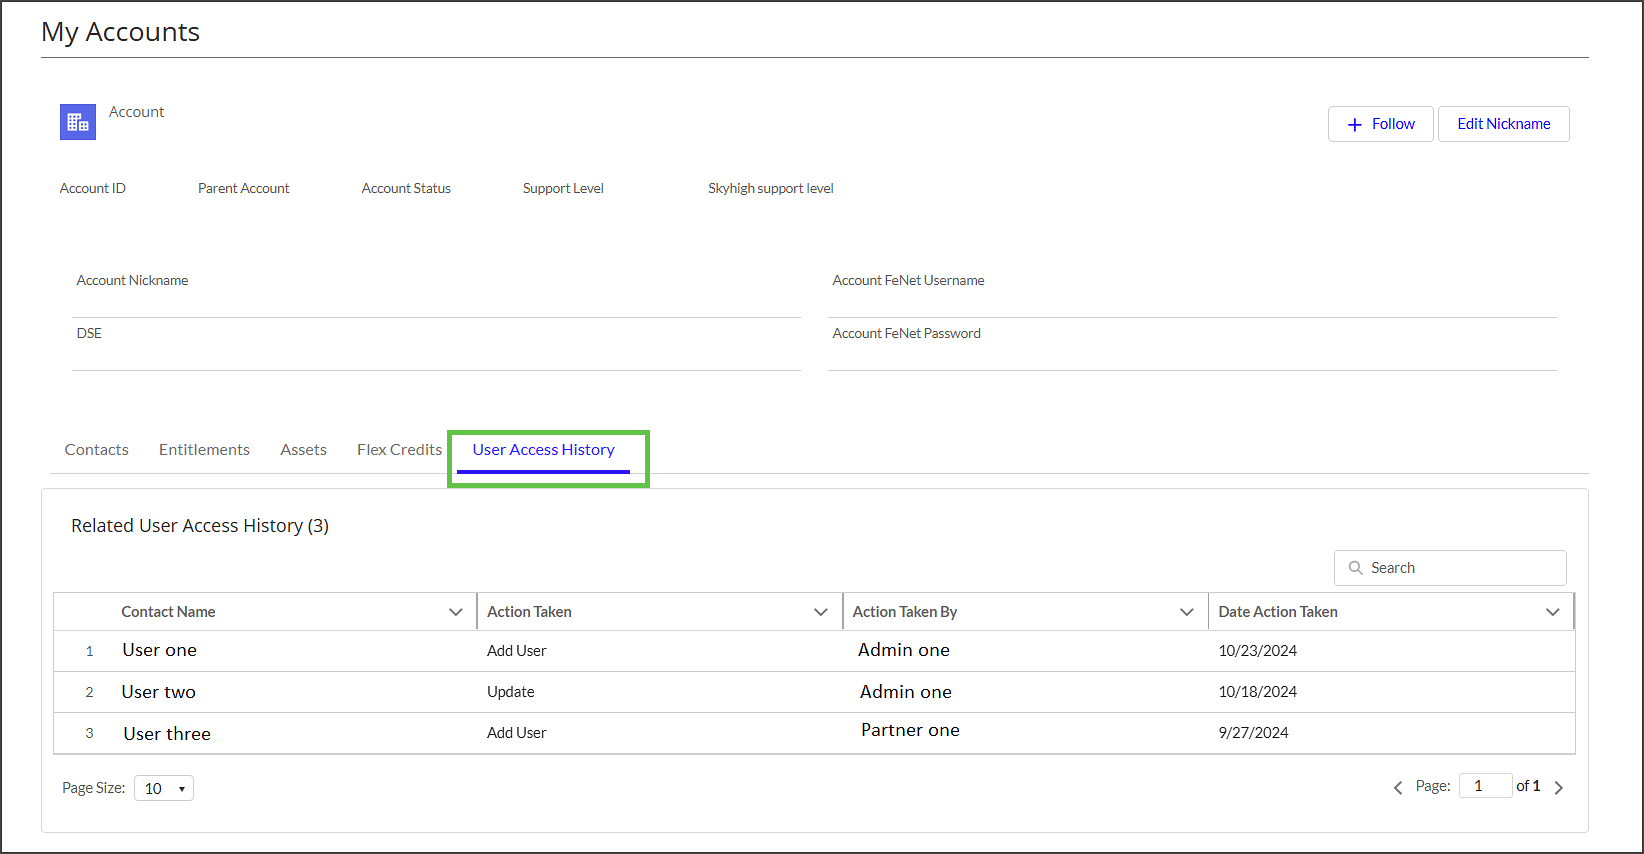
Permission levels for Trellix Support users
When activating or updating portal users, Admin users can change a user's permission level to one of the following:
Limited User: Can access Knowledge, e-learning, and register for training
Standard User: Can create and manage cases in addition to having Limited User access.
Admin User: Can provision users in addition to having Limited User and Standard User access.
--None-- Admin User Standard User Limited User

Update your Trellix Support Settings
After login to Trellix Support, click your avatar at upper right and then select My Settings.
On the My Settings page you can:
Update location settings
To change your Language, Time Zone, or Locale, navigate to the Location settings settings section, choose your preferred options, and then click Save.
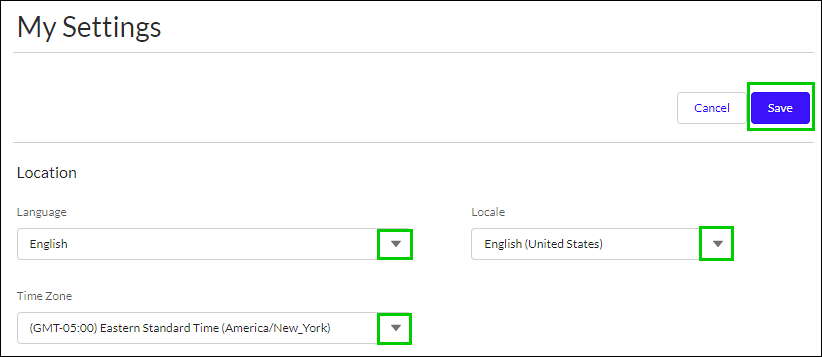
Set profile visibility
To specify visibility for your avatar, in the Profile Visibility section, select the drop-down menu, choose the preferred visibility setting, and then click Save.
Subscribe to Community email notifications
In the Community Email Notifications section, you can enable notifications for different community activities.
To receive Community email notifications select the Enable email notifications checkbox.
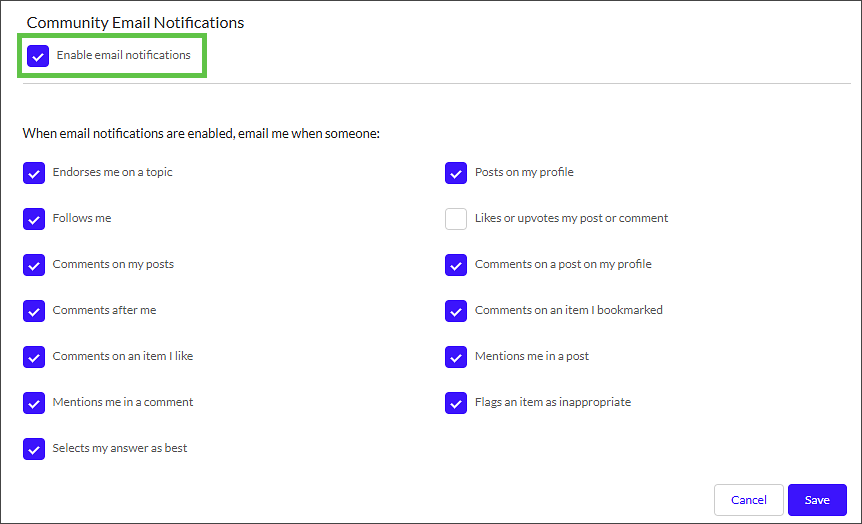
Using the checkboxes, select the types of notifications you wish to receive.
To save your preferences, click Save.
Manage SNS preferences
In the Support Notification Service (SNS) Subscription Preferences section, click the Edit button. The section will then be editable.
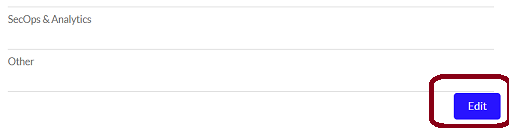
If there is more than one email address associated with your account, select a Preferred Email.
Select a Preferred Language (English or Japanese).
In the General section, choose any of the options for which you would like to receive notifications.
In the Product section, to subscribe to product specific notifications, use the picklists to move desired products from Available to Chosen columns.
Click Save.
Create a Trellix Support case
After login to Trellix Support, click the View and open cases link in the Cases section and then click the Open New Case button.
Select the desired Product.
Important
To report a malware case, select Malware as the Product. For details, see this Knowledge Article.
If the selected product requires a Product Attribute, such Windows or Non-Windows for Agent, select an option in the Product Attribute field. If a Product Attribute is not required, the field will be grayed out and can be skipped.
Enter required case information for Subject Issue Description.
Tip
As you type in the Subject field, Thrive displays knowledge suggestions in the right hand column that might help with addressing your case.
Optionally enter statements for a Business Impact and Environmental Changes.
Choose a Requested severity :
Level 4 - General Questions - Examples: A temporary display issue or a request for best practices or reference documentation.
Level 3 - Impactful Issue - Example: An infrequent BSOD impacting a limited number of systems.
Level 2 - Major Issue or Large Impact - Example: A significant portion of business is impacted by network disruption.
Level 1 - Severe Issue or Business Wide Impact - Example: Company wide network down or email outage.
If not already entered automatically, enter your Preferred Contact Method, Preferred Phone Number, and Preferred Email Address.
Select Upload Files to attach non-malicious files, such as log files, to the case. The maximum initial upload file size is 4MB. After the case is created, you can update the case with larger files if needed.
Important
Note: After a Malware case is created, you can click the Add Files button at the bottom of the case summary page to submit files that are suspected of being malicious.
Click Submit to finish creating the case. You should receive a message indicating the case was successfully created.
After the case is created:
Click the Upload sample tab to view new and existing cases, optionally filtering cases based on status.
For Malware cases, click the Add Files button at the bottom of the case summary page to submit files that are suspected of being malicious.

Manage Trellix Support cases
In the Trellix Support home page, you can manage cases as follows:
View an existing case: Click View and Open Cases in the Cases section.
Update an existing case: Click a case number and make changes as needed:
To upload a file to an existing case, click Add Files or drop files into the space.
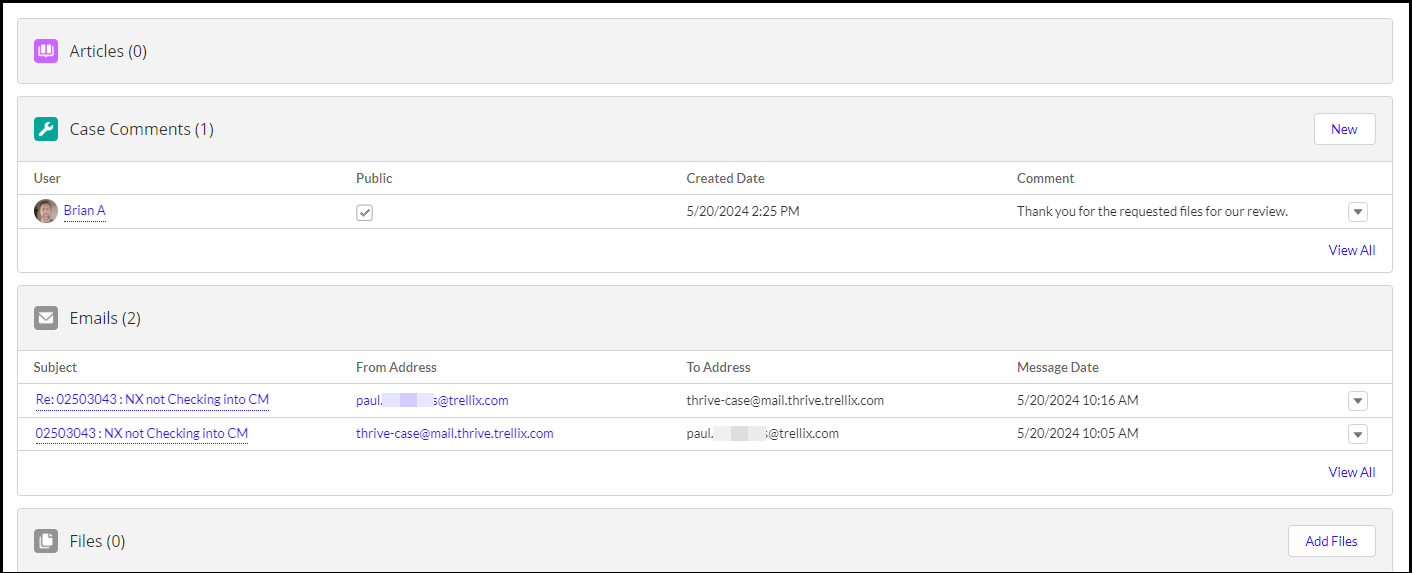
Feedback on existing cases will be sent via email and shown in the Case Comments section.
Close a Trellix Support case
In the Trellix Support home page, click View and Open Cases in the Cases section to display existing cases.
Click the case number to open it.
Click the Close Case button at upper right.

Access knowledge and documents
After login to Trellix Support, click the Explore Articles link in the Knowledge and Documents section. You will be redirected to the Thrive Community where you can search for content as described in: Search for Thrive Community content
Knowledge and Documents
Find relevant information, guidance or troubleshooting assistance for your product.
Download products and updates
After login to Trellix Support, click the Go to Downloads link in the Downloads section of the Support home page.
On the Downloads page, you’ll find links to download:
Trellix products
Trellix security updates
Web Product content for Skyhigh Security
Trellix assets
Access diagnostic tools
After login to Trellix Support, click See Available Tools in the Tools section on the home page.
On the Tools page, you'll find helpful tools such as:
ePO-MER: An ePO deployable version of WebMER that collects event logs, file version details, files, process details, and registry details.
Profiler: captures top processes and files that are accessed by the VirusScan Enterprise (VSE) On-Access Scanner (OAS).
Self-Service Supportability Orchestrator assists with collecting data for known or unexpected issues. It is deployable as a standalone product or through ePO.
Hash Lookup allows you to enter a hash and view a list of Trellix products that have detected it.
Combine Extra.DAT Files combines Extra.DAT detection files into a single package that can be deployed to endpoints.
Endpoint Encryption Code of the Day is a unique number that changes daily and allows access to certain functions of the device encryption disaster recovery toolkit.