To manually create an Azure AD (client) ID, app password/client secret or certificate, and directory (tenant) ID through the Azure portal:
Note
The app registration steps for the Azure portal are subject to change. See the Microsoft documentation on registering an application with Azure AD and API permissions for more information.
Create the app.
In the Azure portal, select +New Registration.
Under Name, enter a name for the application.
Under Supported account types, select Accounts in this organizational directory only (Microsoft only - Single tenant).
Do not enter anything in the Redirect URI (optional) field.
Click Register.
Add the API permissions.
In the left panel, select API Permissions.
Select Add a Permission.
Select Microsoft Graph.
Select Application Permissions.
Add the permissions: Directory.Read.All, Group.Read.All, GroupMember.Read.All, Mail.ReadWrite, User.Read.All, MailboxSettings.Read.
At the top of the permissions table, click Grant Admin Consent for ****, then click yes. A green check mark and "Granted for ****" appear next to each permission.
Add owners for the application. Owners are admins who are able to control the app.
In the left panel, select Owners.
Add the owners.
Upload a certificate or create the application secret.
Copy the application ID and directory ID.
In the left panel, select Overview.
Copy the application (client) ID and directory (tenant) ID.
To authorize the app in the Email Security - Cloudportal using an application secret:
In the Email Security - Cloud authorization portal, paste the app (client) ID, app password/secret, and directory (tenant) ID into their appropriate fields.
Secret refers to the secret value and not the secret ID.
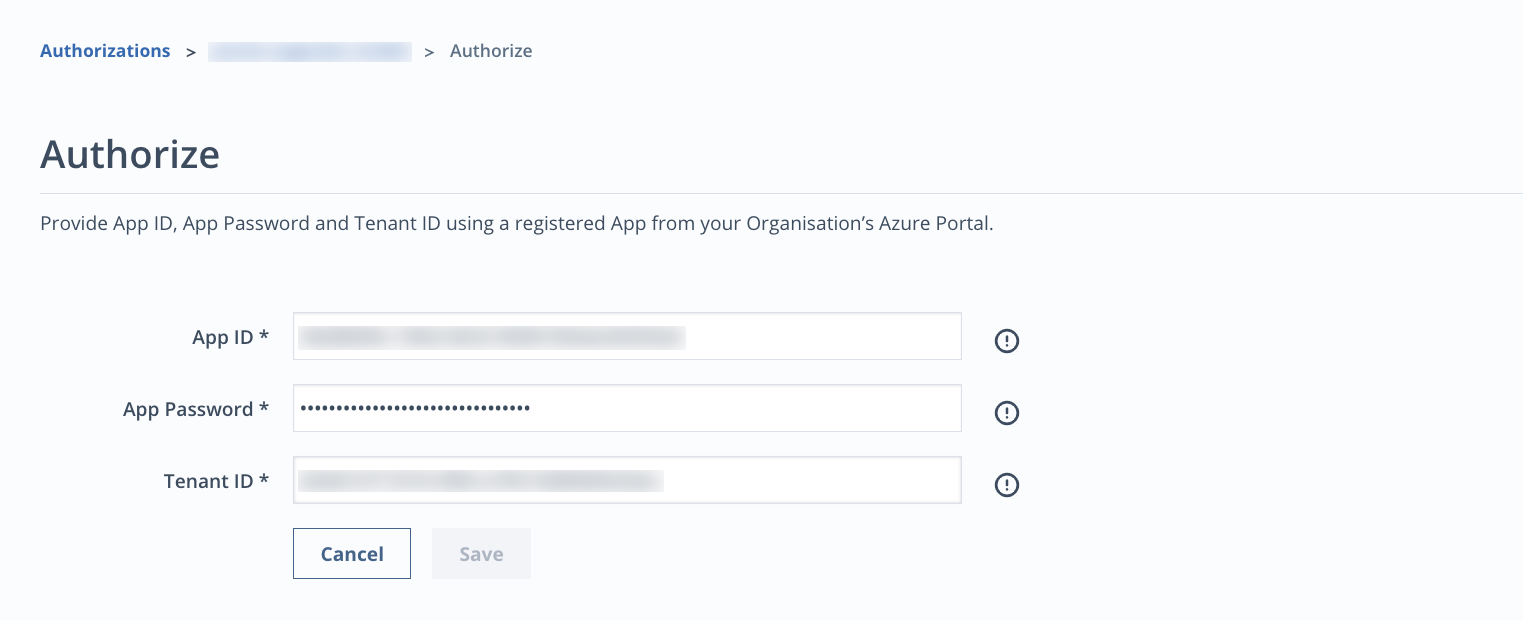
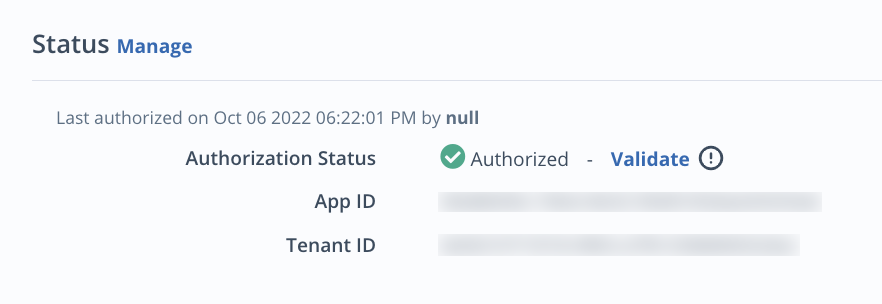
Click Save. The authorization status is now "Authorized."
Next to the authorization status, click Validate to validate the app.
To authorize the app in the Email Security - Cloudportal using a certificate:
In the Email Security - Cloud authorization portal, paste the app (client) ID and directory (tenant) ID into their appropriate fields.
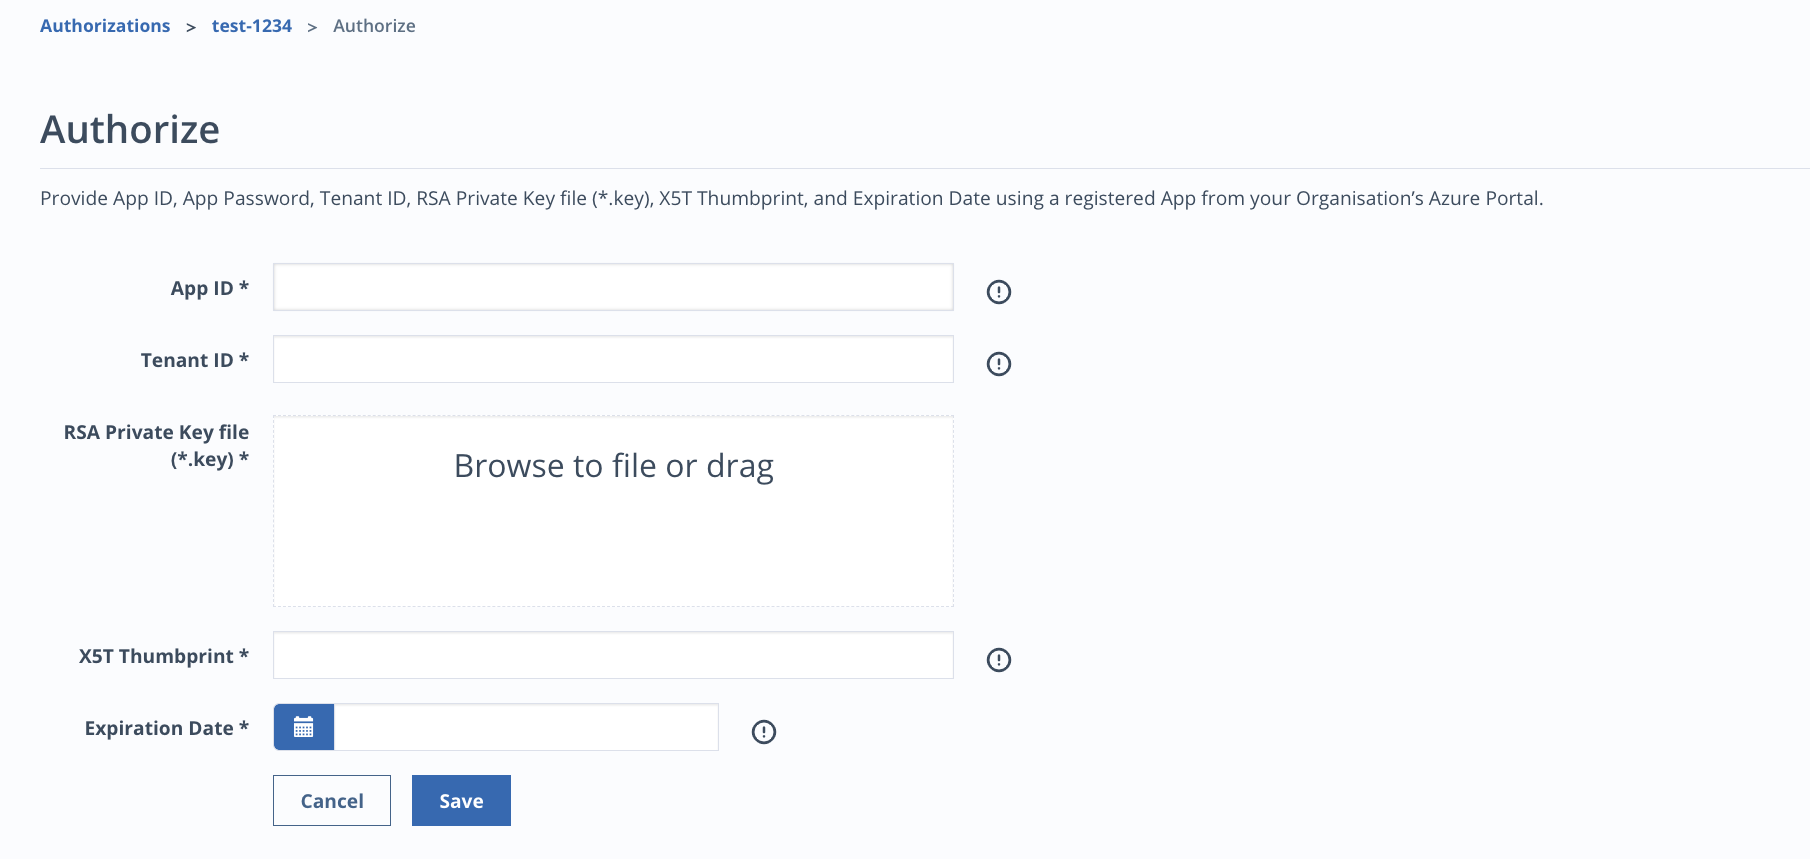
Upload the RSA private key file.
Paste the X5T thumbprint into the appropriate field.
The X5T thumbprint is generated in Azure when the certificate is uploaded.
Select the certificate expiration date.
Click Save. The authorization status is now "Authorized."
Next to the authorization status, click Validate to validate the app.
Note
If the required permissions are missing, the authorization is not saved and the missing permissions are listed along with other error details.
If the authorization fails, the following message appears:

You can view details by entering the upstream response code at https://login.microsoftonline.com/error. See "Sign in error codes" in the Microsoft documentation for more information.